My March Experience Early Learning preschool curriculum box arrived yesterday so I have it opened up and reviewed for you! Not only is this post all about What’s in the Box? Space & Sky, but I’ll show you how I prep my materials at the beginning of the month.

Why Prep Your Experience Preschool Kit?
The beauty of purchasing a professionally pre-made curriculum is that you don’t *have* to do much prep, but there’s still a certain amount that is necessary. Some users say they don’t do any prep, just pull out a bag and get started and you definitely can do that. I can say I certainly have but I do know that if I’m prepared, I’m a better teacher.

If I haven’t looked at the lesson for the day, prepped anything or thought about how I will use it with my group, I don’t feel I do the best job I can. Sometimes I’ve actually wished I had looked at the lesson earlier so because ideas came to mind that now I no longer have time for or don’t have something I wish I had boughten to go along with it.

When all my materials are organized, laminated, cut and ready to go, I am less stressed and have more time to do what I need to with my child care group. Plus, as a family child care provider with a mixed age group, you never know what a day will bring! Sometimes we have time to spare and other days, nothing goes right.
Time Commitment
Spending a little time in advance to make the most of my Experience Early Learning preschool kit, really makes a difference for me. I would say it takes 45 minutes to an hour to go through the box, open each bag, laminate or cut as desired, and put it in drawers. Of course, it depends on how many interruptions I have, and that includes taking photos of each bag as I show in the What’s in the Box? posts. I do hurry through this process because time is of the essence, I’ve done it many times and I know what works for me.
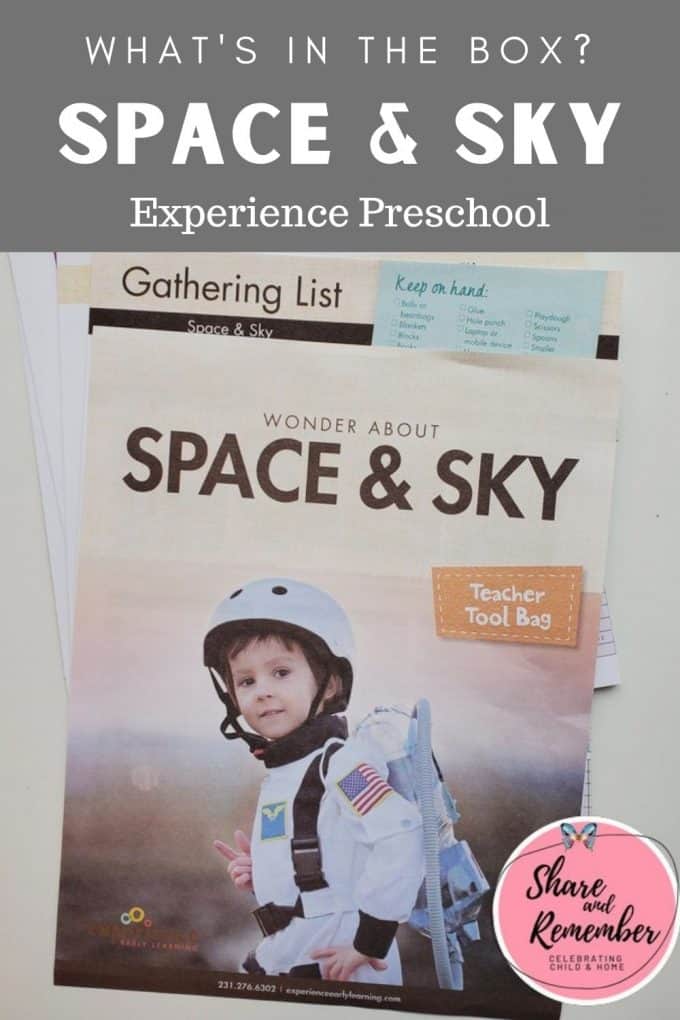
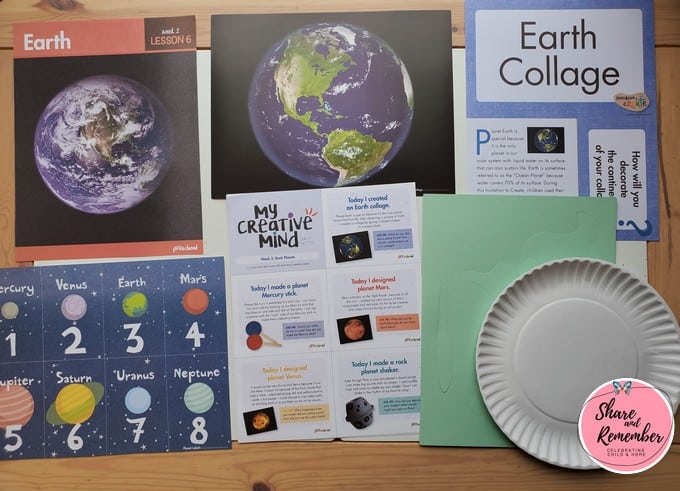
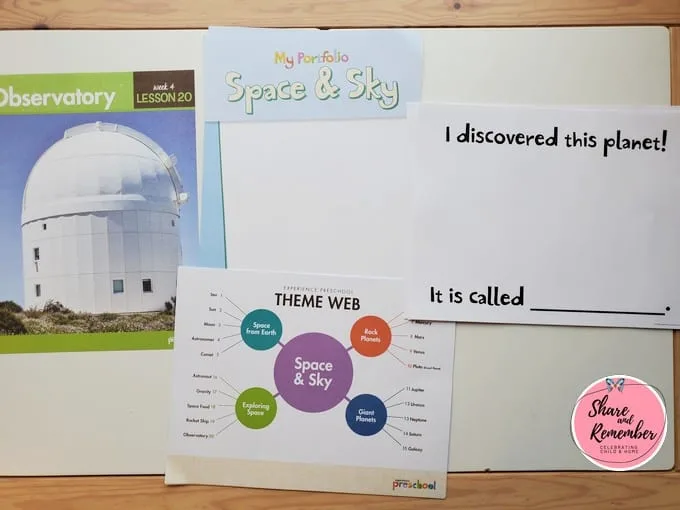
What’s in the Box? Space & Sky


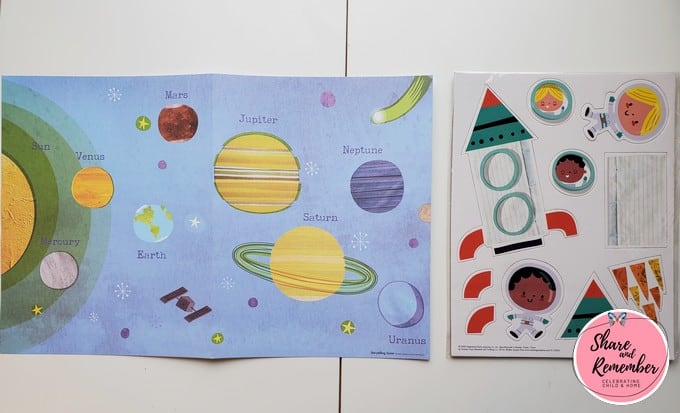
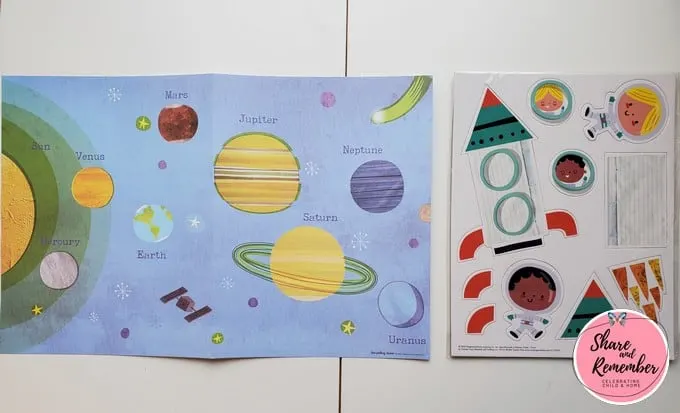
3…2…1… Blast off! Children will pretend to be astronauts and fly off in a homemade rocket ship. They will count the stars, create constellations and explore rock and gaseous planets. Children will make their own stargazers as they play with light and look up into the sky during this incredible space adventure.
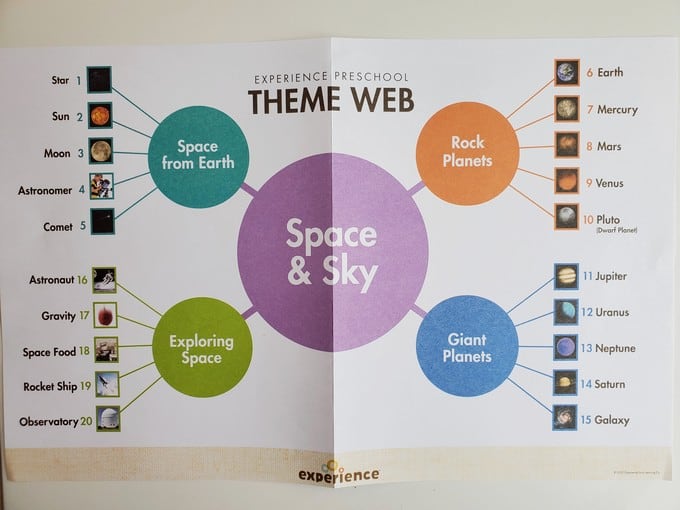
Space From Earth
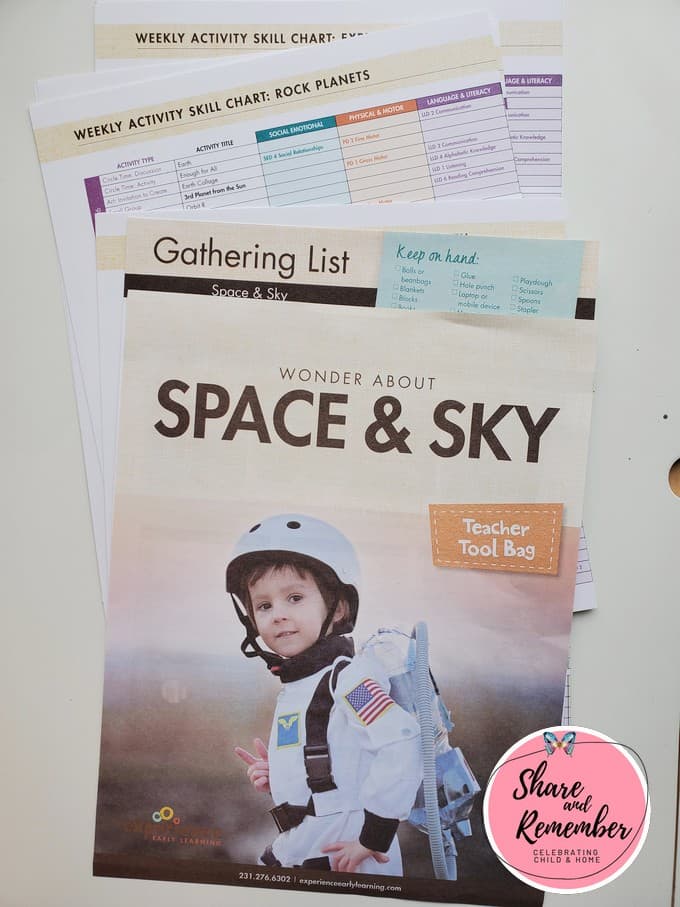
Teacher Tool Bag


Teacher Guides
- Lessons 1-5: Space From Earth
- Lessons 6-10: Rock Planets
- Lessons 11-15: Giant Planets
- Lessons 16-20: Exploring Space


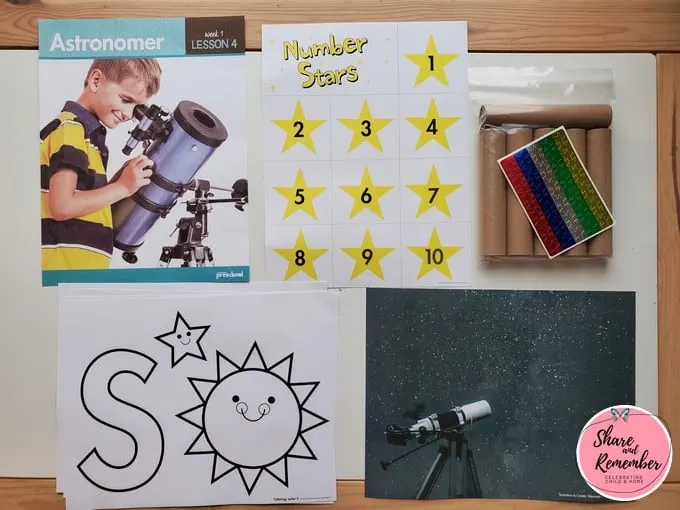
Lesson 1: Stars


As I’m opening each daily bag (and taking pictures for you) I start to prep all my materials. Anything that needs to be laminated or cut apart, I do that right away. It saves me the time when I really need to be teaching.


Laminating everything at once eliminates pulling out the laminator and paper cutter multiple times each month. If I don’t do it in advance, it’s likely I won’t bother with laminating at the last minute and then my materials won’t be a nice for the children to use or hold up for reusing them in the future.
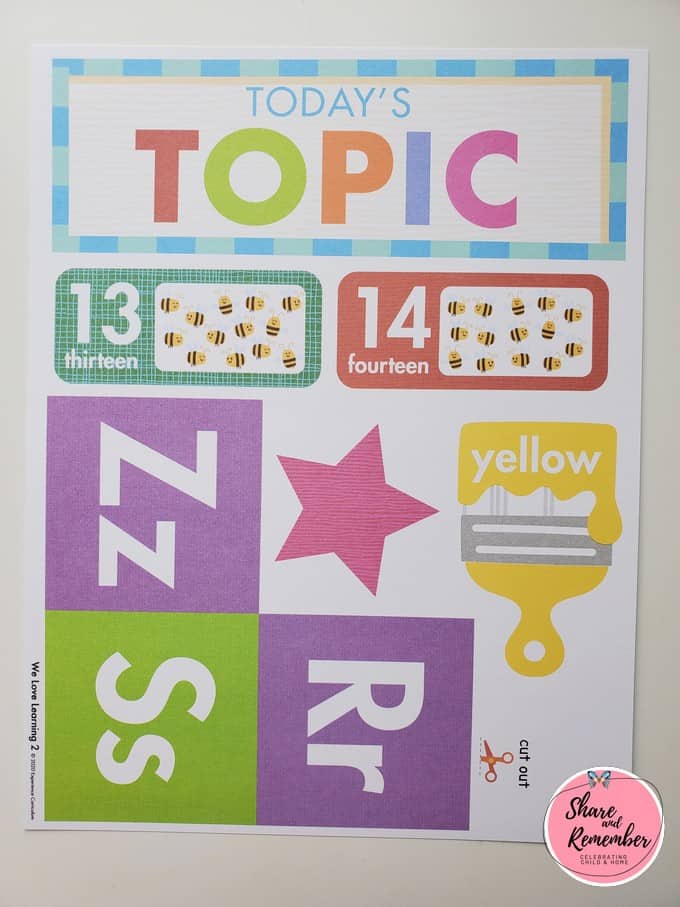
Some of the materials pictured are from three years ago (star and yellow paintbrush). Materials vary from year to year.

 s
s
There – Day 1 materials all laminated and cut apart. Anything small like the star cards I put into a baggie.


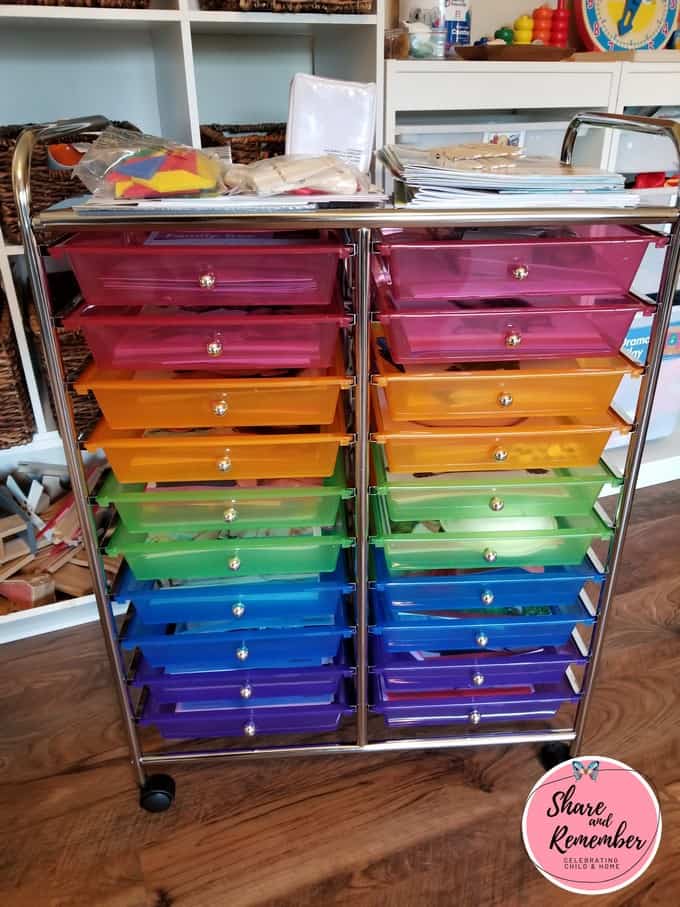
I store all the daily lessons in a 20 drawer cart.

Anything I want to have available on the first day of the theme, I put in a monthly folder including:
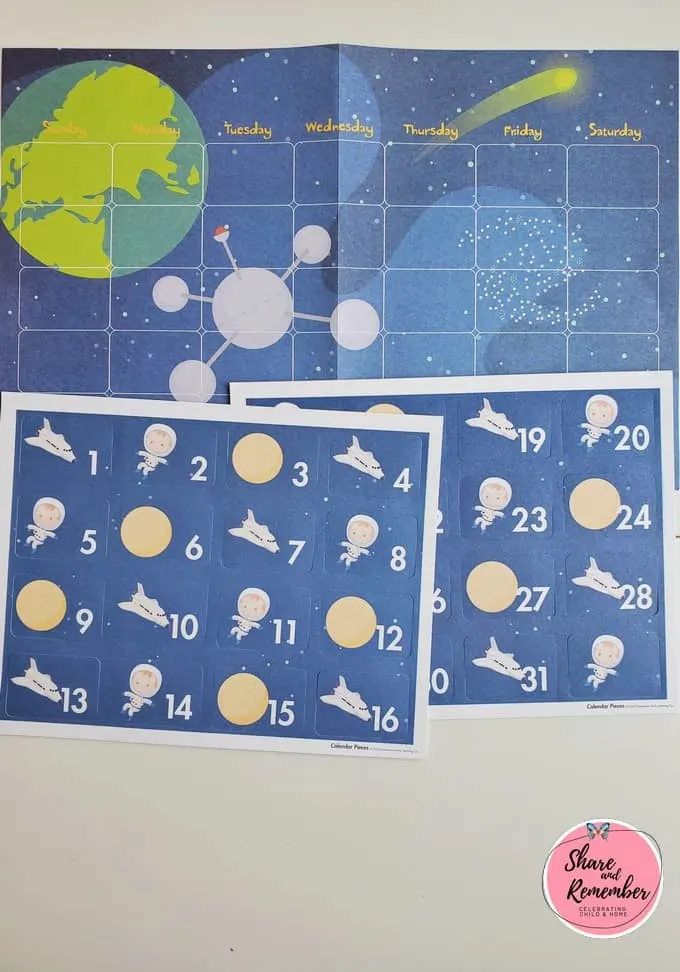
- calendar
- theme poster
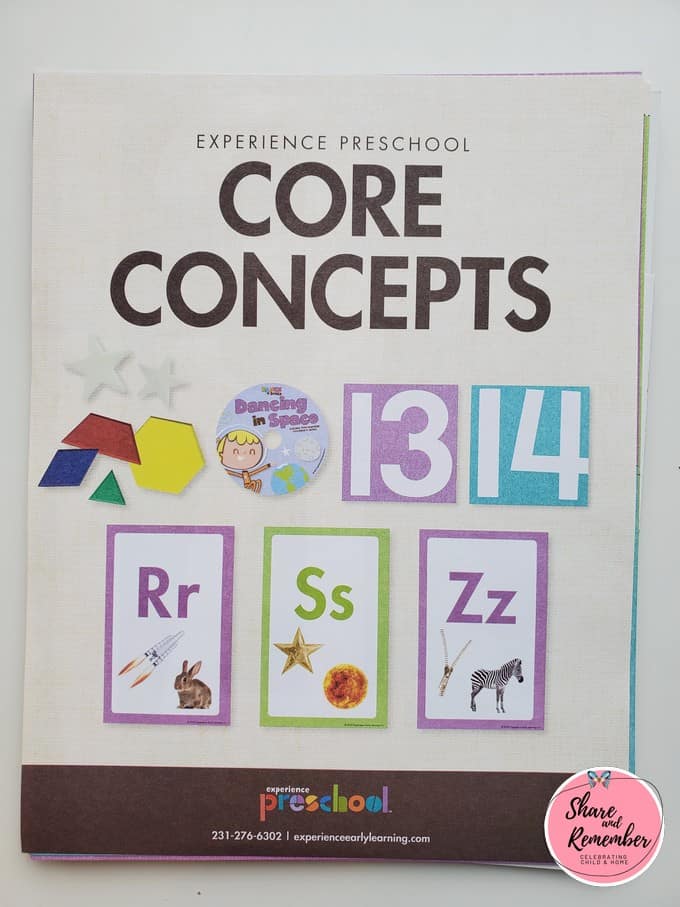
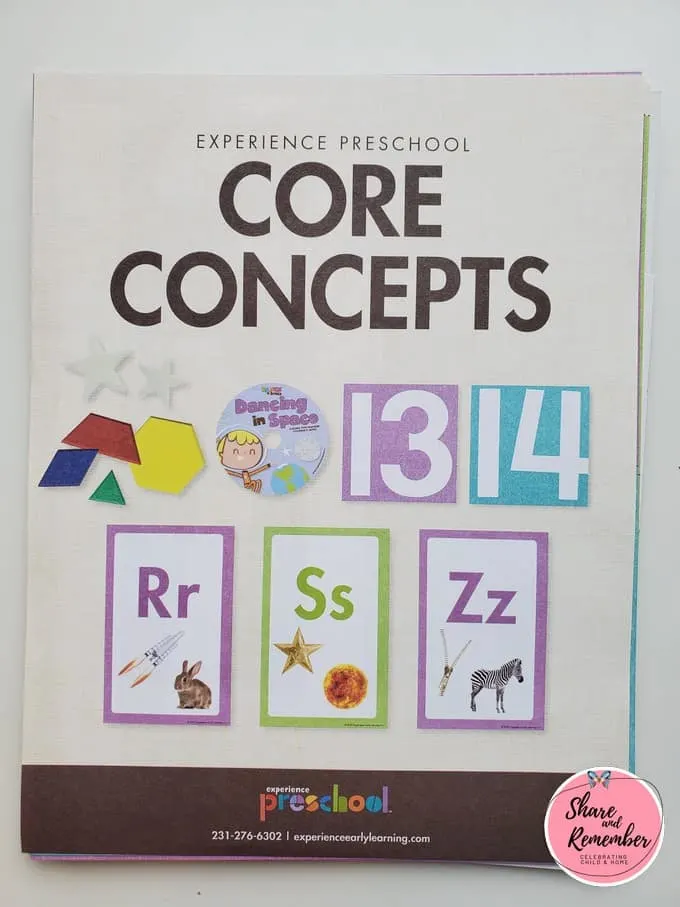
- alphabet posters, alphabet pocket cube cards, hands-on letters
- hands on numbers/number cards
- puzzle
- magnet set
- parent newsletters
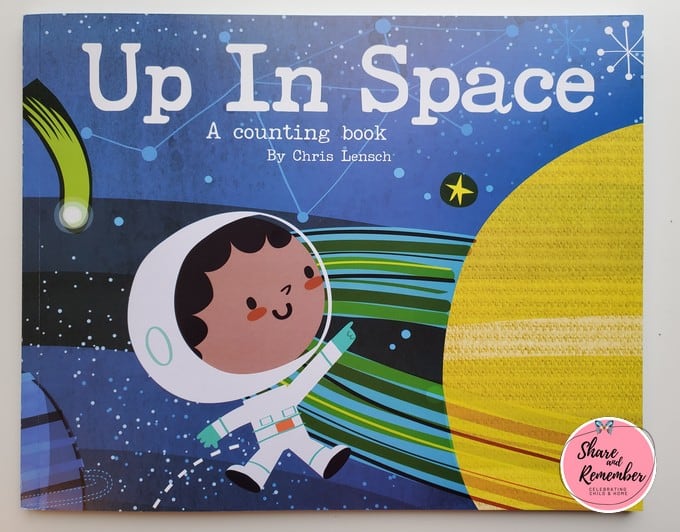
- storybook
- paintbrush/shape
- teacher guides
- Theme web/resource pages from Teacher Tool Bag
This system has been helpful to contain all the month’s related materials other than the actual daily bags. Otherwise, I’m always looking for the next teacher guide, etc.


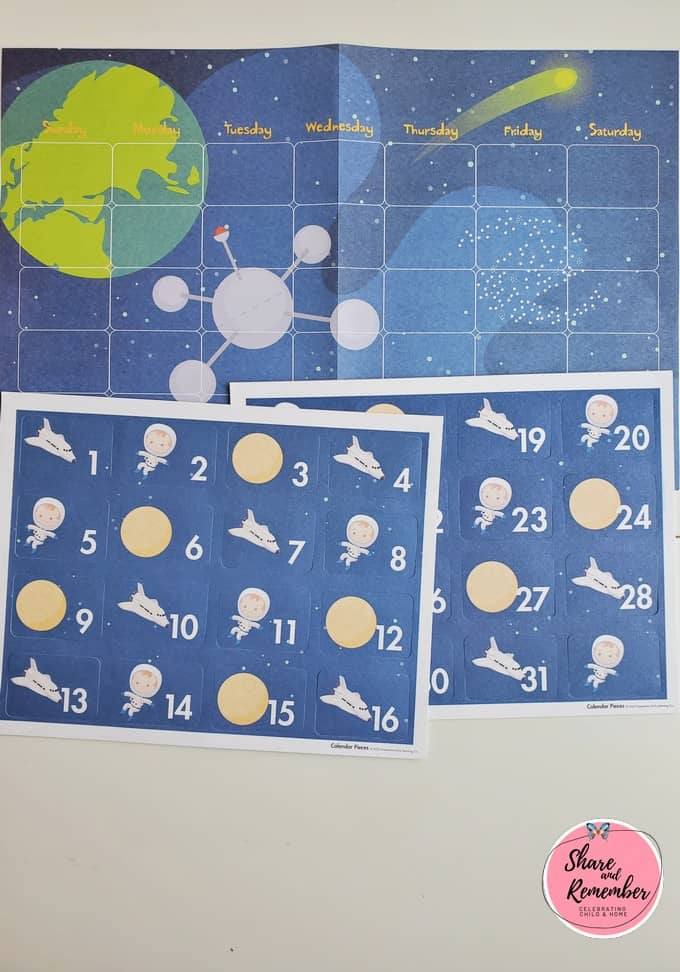
If you have a little one that’s keen to help, give them the job of separating the calendar numbers and putting them in order.


Lesson 1: Star
Lesson 2: Sun


Lesson 3: Moon


I laminate my posters using two laminating sheets like shown below.


Fold it and put it through your laminator – it works! You may need to reinforce the seam on the back with a piece of packing tape or it may separate. Now the poster will last for years to come!

Lesson 4: Astronomers

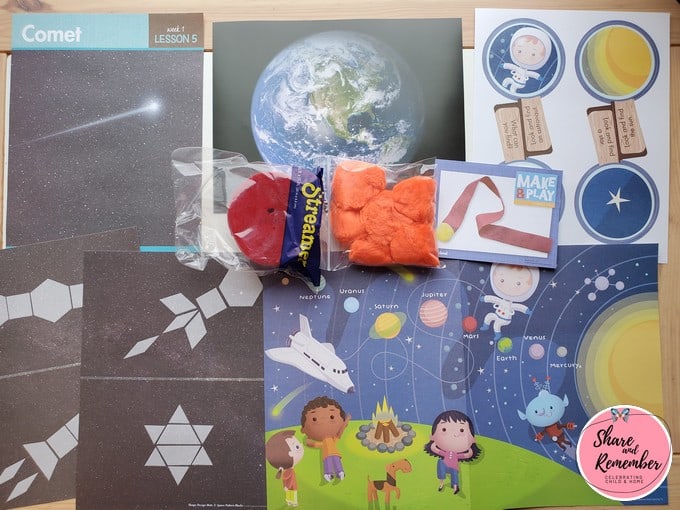
Lesson 5: Comets

Rock Planets
Lesson 6: Earth


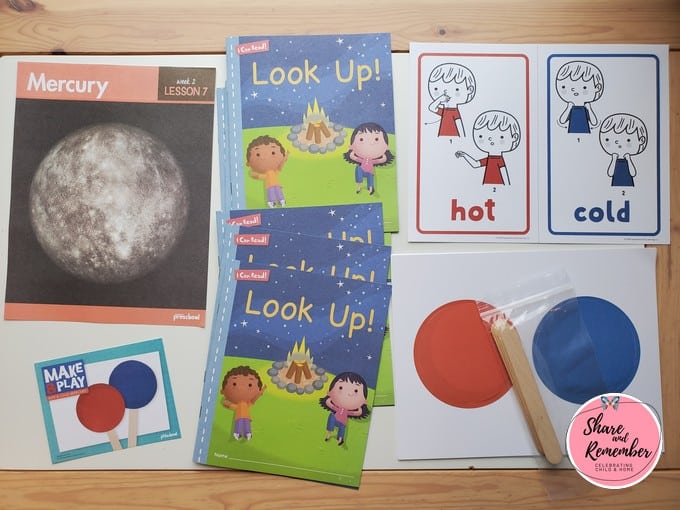
Lesson 7: Mercury

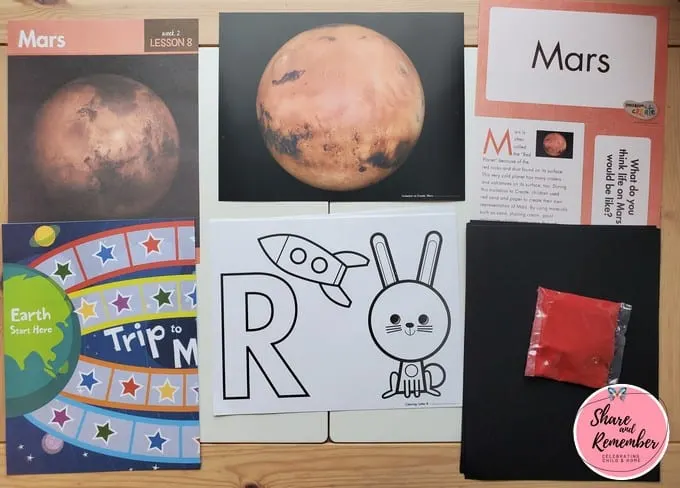
Lesson 8: Mars

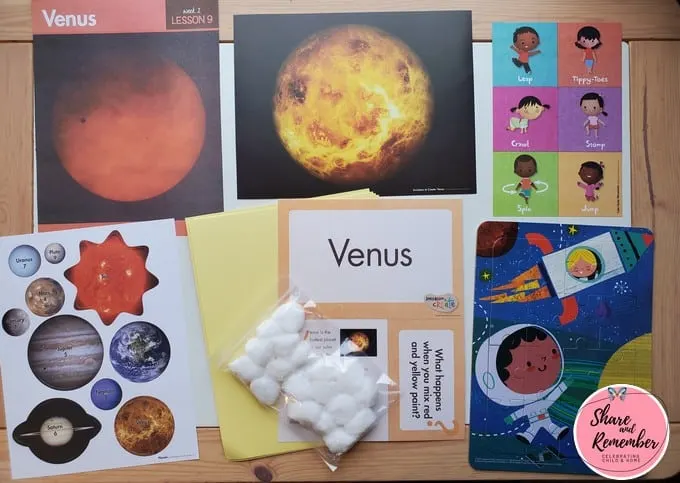
Lesson 9: Venus

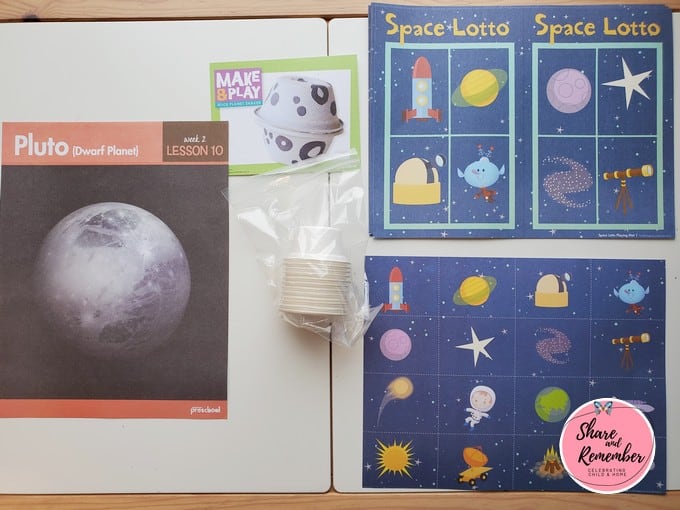
Lesson 10: Pluto

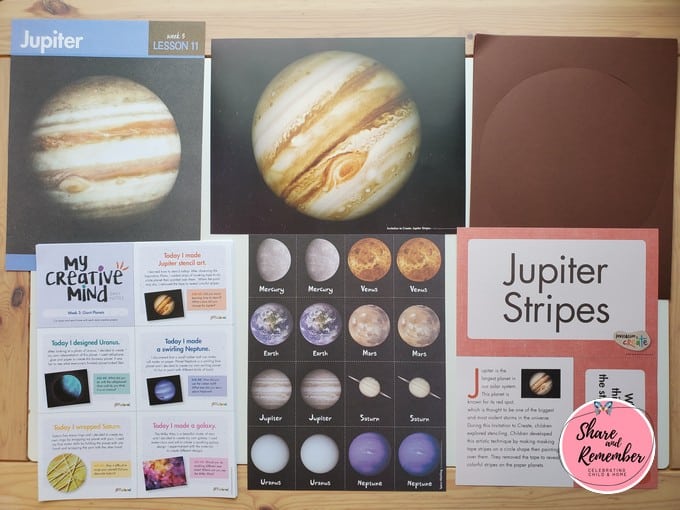
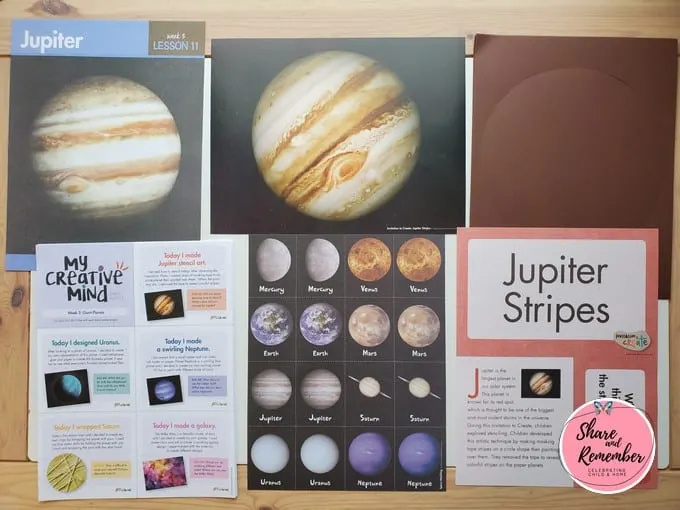
Giant Planets
Lesson 11: Jupiter
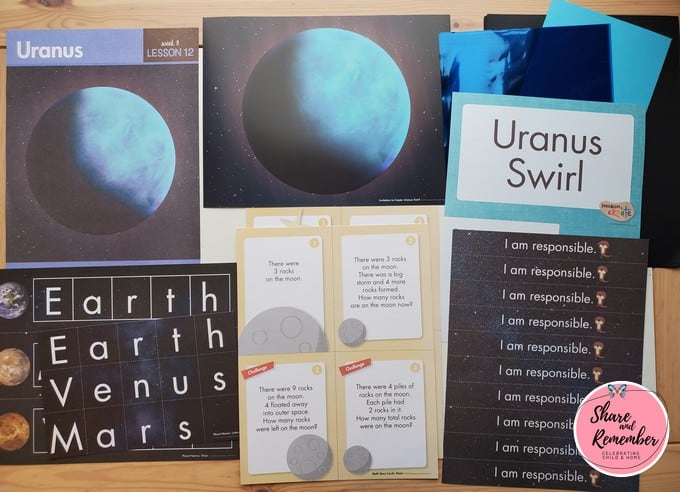
Lesson 12: Uranus

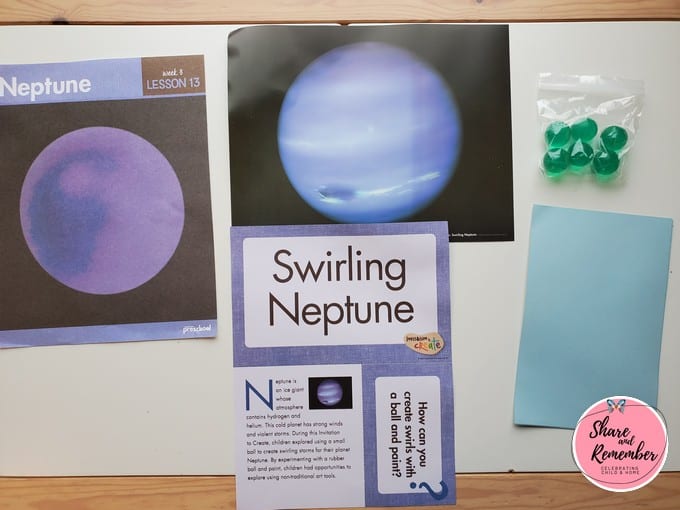
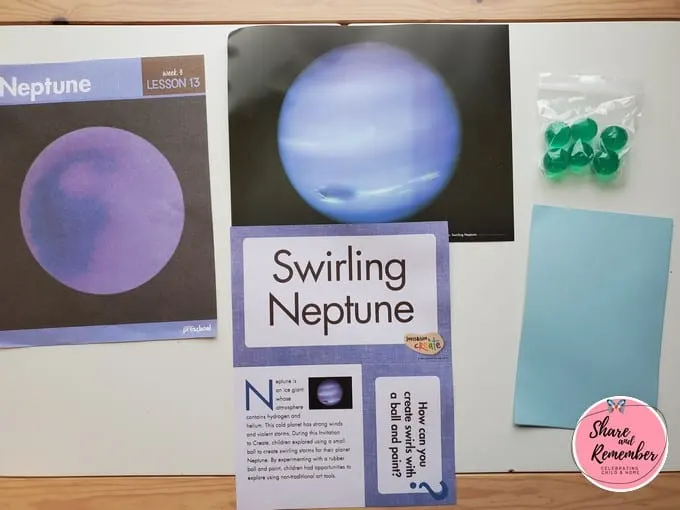
Lesson 13: Neptune
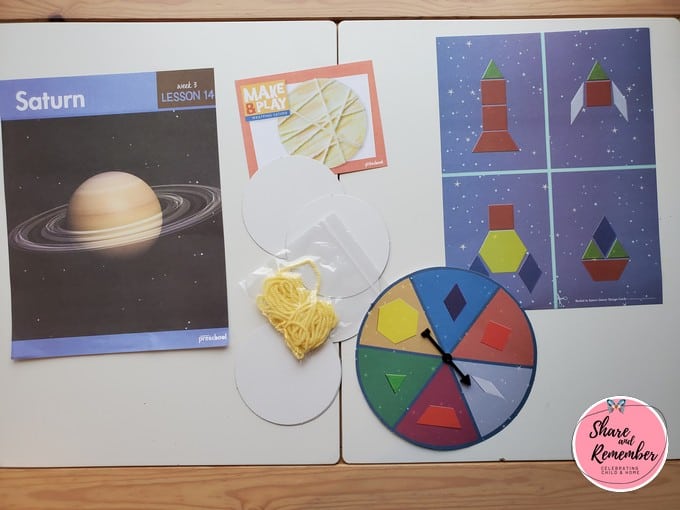
Lesson 14: Saturn

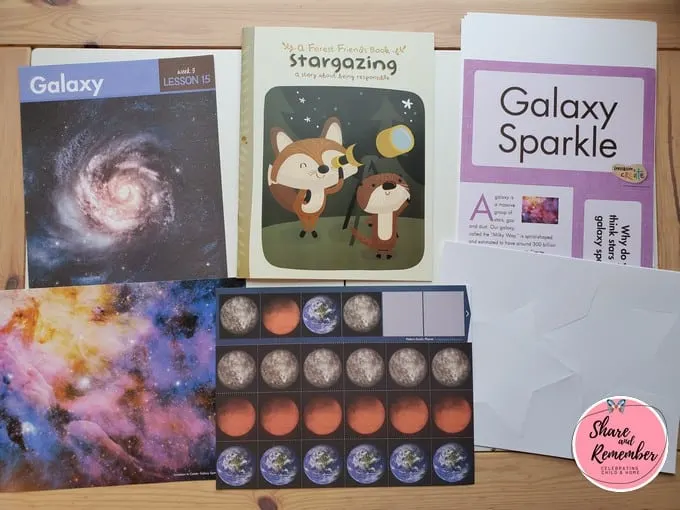
Lesson 15: Galaxies

Exploring Space
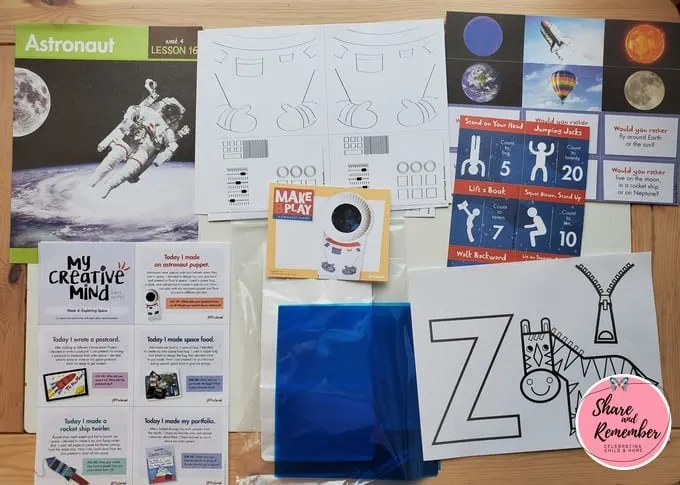
Lesson 16: Astronauts

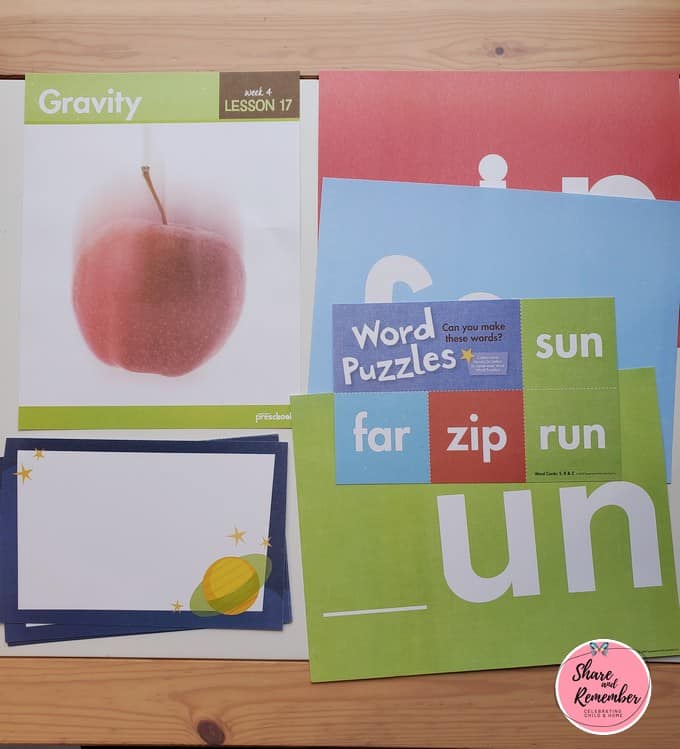
Lesson 17: Gravity

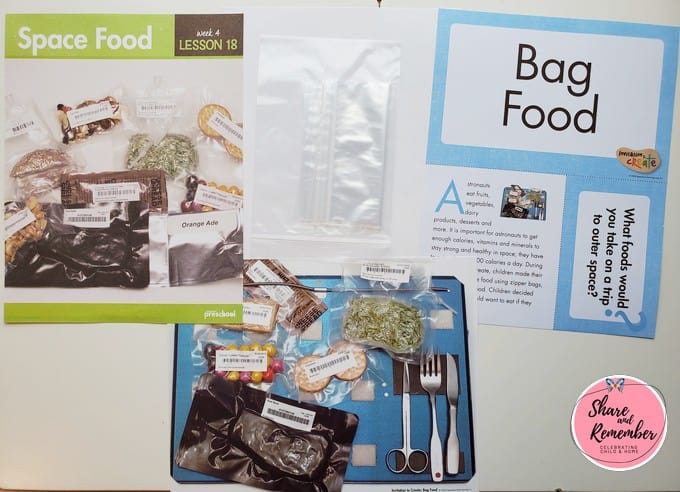
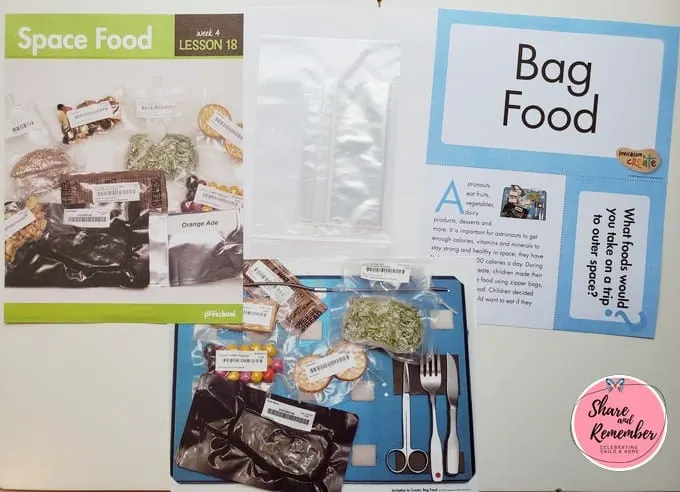
Lesson 18: Space Food
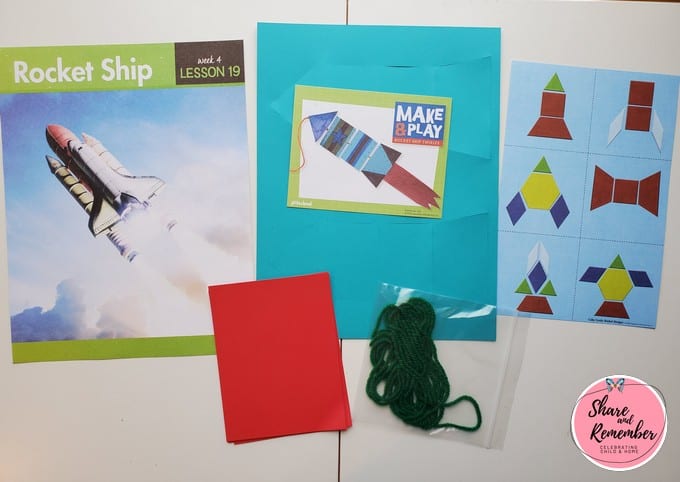
Lesson 19: Rocket Ships

Lesson 20: Observatories

Space & Sky promises to be full of learning and fun! I hope this little overview of prepping my Experience Early Learning kit has been helpful as well.
More Space Activities

Facebook | Instagram | Pinterest
I received curriculum from Experience Early Learning for honest and authentic stories resulting from my daily experiences using the curriculum. As a user of Experience Preschool for many years, I am pleased to share quality educational experiences. #sponsored #ExperienceEarlyLearning
Heather Flynn
Saturday 27th of March 2021
This might be a silly question, I am just getting started using their curriculum. Do you laminate everything first then cut it out? Do the edges stay together? Do you supplement with any worksheets or anything?I am excited and terrified all at once.