Inspired by all the great backyard water wall projects out there, I’ve been saving recyclables and getting ideas for our water wall. When it came down to actually making it, I just started attaching containers with zip ties without much of a plan, but that’s just how I work sometimes. We’re very happy with how it turned out! Maybe it will inspire you to make your own backyard water wall for your kids to play in. Make a DIY Recycled Water Wall Activity Board for Kids Water Play for water sensory and science with recycled containers, toys, a pegboard, and zip ties.
DIY Recycled Water Wall Activity Board for Kids Water Play
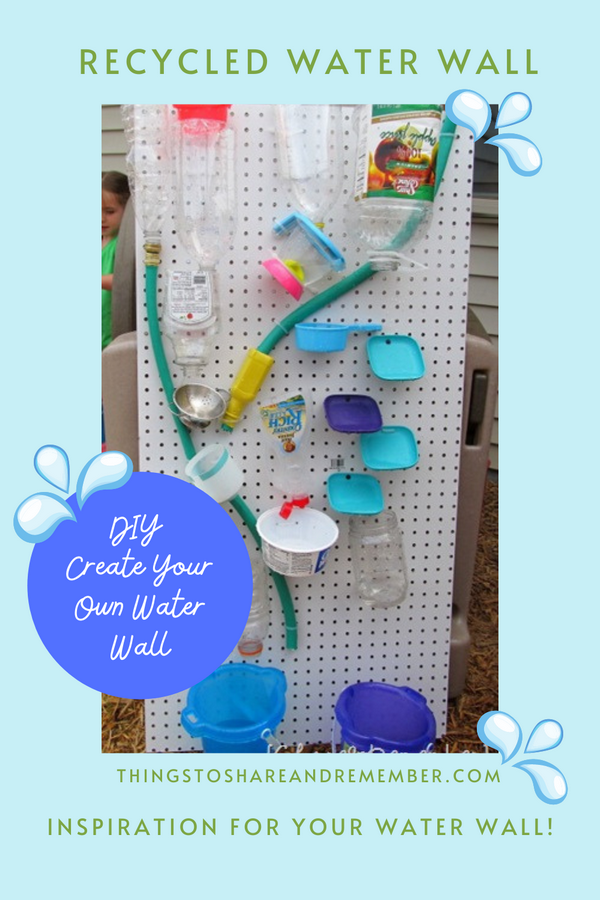
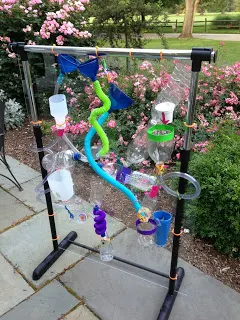
Our DIY recycle water wall is shown in the image below. By looking at the photo, you can kind of see how it’s put together. As you put your containers on the pegboard, consider how the water will flow or drip down the containers and vary it to make it interesting.


We experimented with various locations to lean our water wall activity board. Below it is shown up against the side of the deck. Kids can stand either above it or down on the ground level.


I have a ton of play dishes that are in storage, meant to be rotated from time to time so I decided to use some of them in this project. Be creative and use what you have!
I like it leaned up next to the little climber so the kids can pour water down from above too. It gives a whole different perspective.


It might not be beautiful but it will be creative and earth-friendly by using containers that would otherwise be thrown out.
Be sure to have some buckets or containers to children to fill with water and dump through the water wall to keep children engaged. I’d recommend smaller containers than the buckets shown so the water supply lasts longer and the action can be repeated.
Kids love repetition and experimenting with various ways to pour the water down the water wall containers.


Couple of things I discovered when creating my DIY Water Wall:
- Pegboard probably isn’t going to hold up to getting wet long-term. For this summer it will be fine. Not sure if it will last longer than that or not. Turns out, it holds up well! The pegboard dries out and holds up for the season or two. I had to screw a board to the back to keep the pegboard straight/stiff otherwise it curved in. It’s perfect now!
- I should have kept some bottle caps! The kind that flips open with a spout, like the syrup bottle. The caps add another fun element because the bottle can be filled and then drained when the cap is opened. I’m almost done with some Ketchup so I’ll keep the cap to put on that bottle too.
- It’s fun, fun, fun! Plan on your kids getting wet.


More Awesome Backyard DIY Water Walls
There’s lots of creative ideas out there for creating a backyard water wall. Check out the ideas I found below to see how you could make your water wall.
Awesome DIY Water Walls
Need more ideas how to make your backyard water wall? Try these cool projects with your kids this summer.

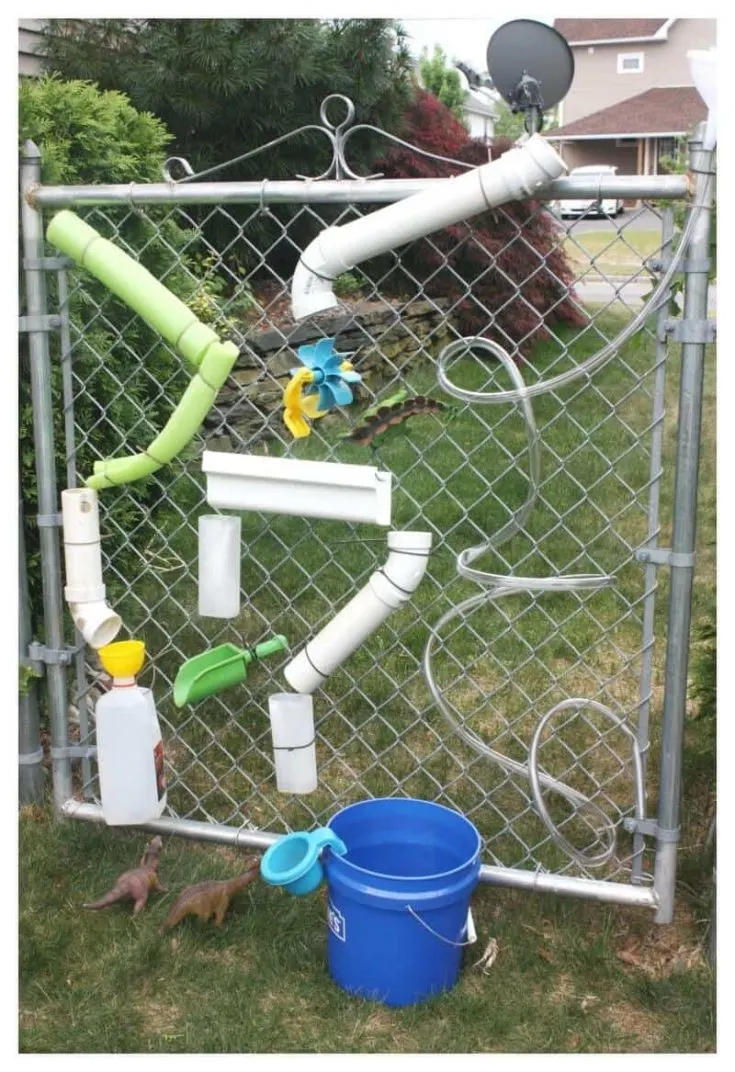
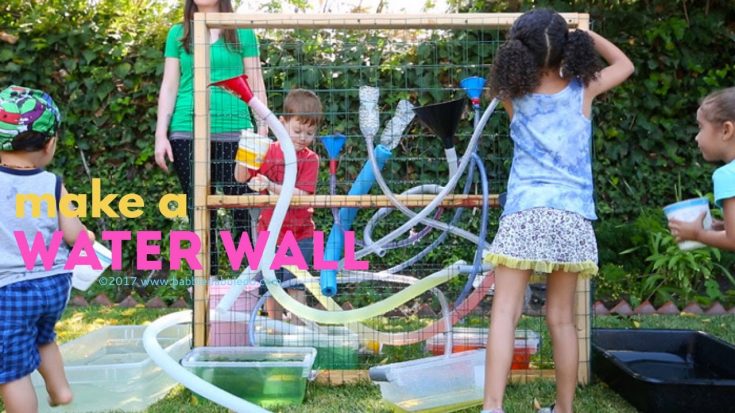
This water wall from Little Bins for Little Hands utilizes a grate and awesome tubing.

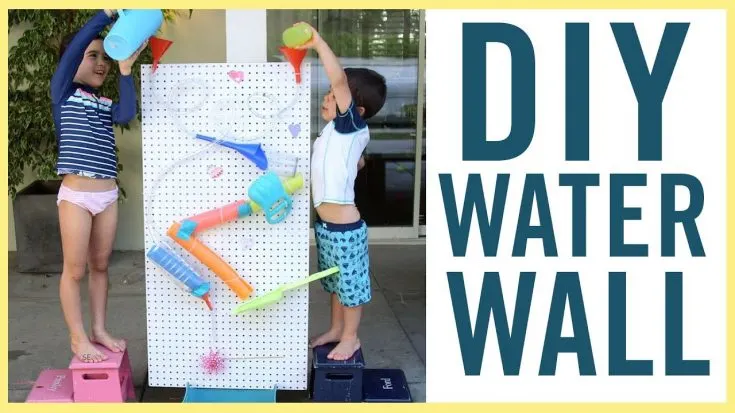
The DIY Water Wall from WhatsUpMoms on YouTube looks a lot like mine, using a pegboard, pool noodles, recyclables and other toys.

Mrs. Goffs Pre-k's water wall is creatively made using a coat rack.

Babble Dabble Do's water wall has the benefit of being double sided. Love that!

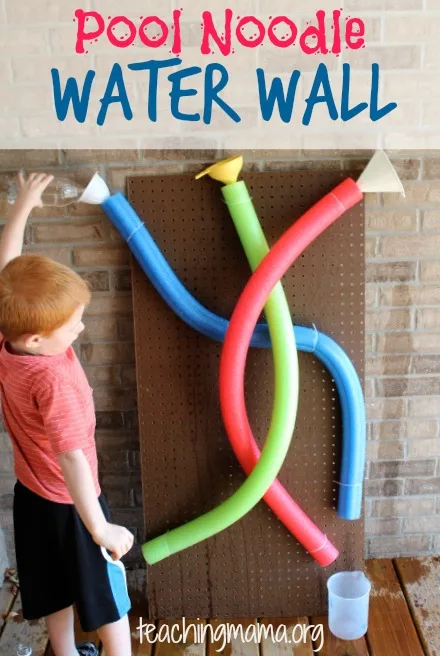
Make a pool noodle water wall with funnels like this one from Teaching Mama.
Backyard Family Fun When Staying Home - Home Tips for Women
Wednesday 9th of March 2022
[…] Kids love creating (and re-creating) marble mazes so how about a water wall using recyclables lying around the house? This great idea comes from Stacy at ThingstoShareandRemember.com. […]
50+ Nature Play Activities to Enjoy in your Backyard - Mother Natured
Friday 6th of August 2021
[…] Build a water wall Check out this ‘water wall’ for a super fun way to play with water and put your plastic waste to good use. […]
Summer Activities For Kids in Jersey City | Liberty Harbor
Monday 2nd of August 2021
[…] Build a recycled water wall […]
Hayley
Tuesday 25th of May 2021
It was very fun but very very wet! But I think I might still do this again. I think I would give this 4/5 stars.
100 Things to Do Outside This Summer at Home - Indy's Child Magazine
Monday 30th of November 2020
[…] Create a DIY water wall. Instructions here. […]