These adorable paper pumpkins are great for fall décor from October through November for your Halloween and Thanksgiving festivities. This simple art project is great for all ages!
Creating paper pumpkins:
1. Wad up a large piece of paper into a ball, shaping it like a pumpkin with the ends tucked underneath. We used heavy paper from a roll of blueprint paper. Really, just try it, it’s super simple. Don’t overthink it!
2. Secure with packing tape.
3. Paint as desired.
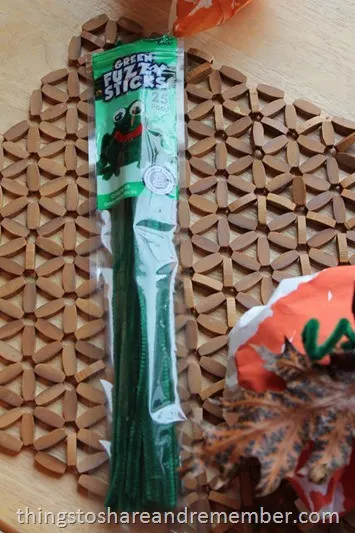
4. Decorate with a stem, leaf and vine. We used a real leaf, green fuzzy stick, and a real stick. Use a hot glue gun to attach these items.
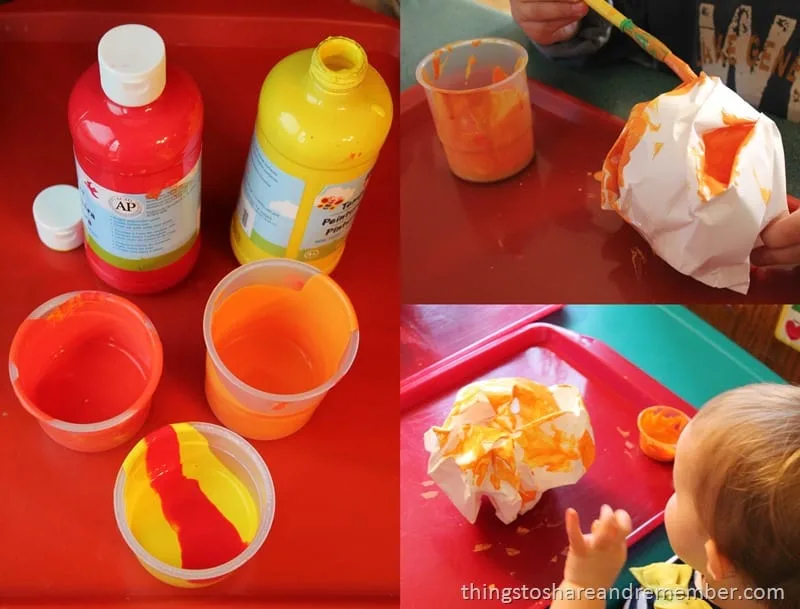
For some reason I found myself without orange paint in mid-October so included in our activity was a little color mixing with red and yellow to make orange. It turned out perfect – they really enjoyed mixing their paint and asking for a little more red or orange to get the shade of orange they wanted.
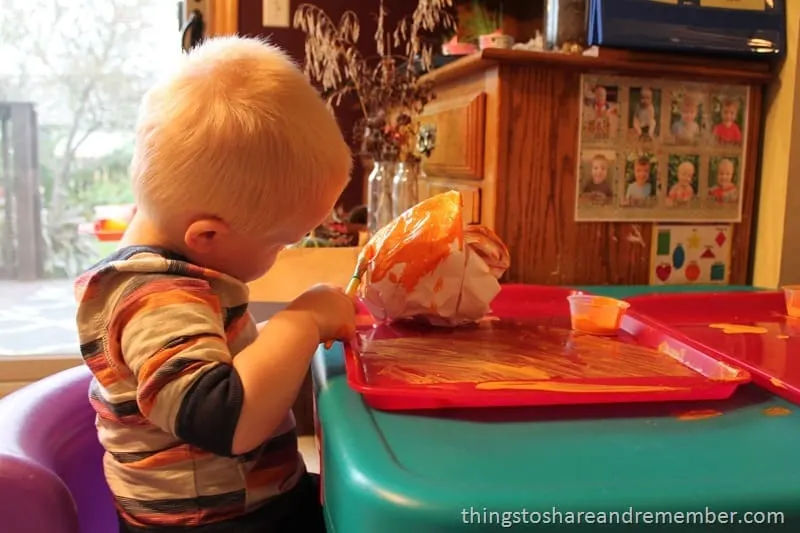
 Everyone was very involved in their pumpkin painting – it’s quite challenging to get paint in all the creases and crevices of the wrinkled paper!
 Including 3D art in preschool is important. Three dimensional artwork allows the child to be look at it from many different sides or angles.
 Green Fuzzy Sticks from Craft Project Ideas came in very handy for this project! Find more great craft products and ideas at Craftprojectideas.com.
There’s still time to make paper pumpkins!


