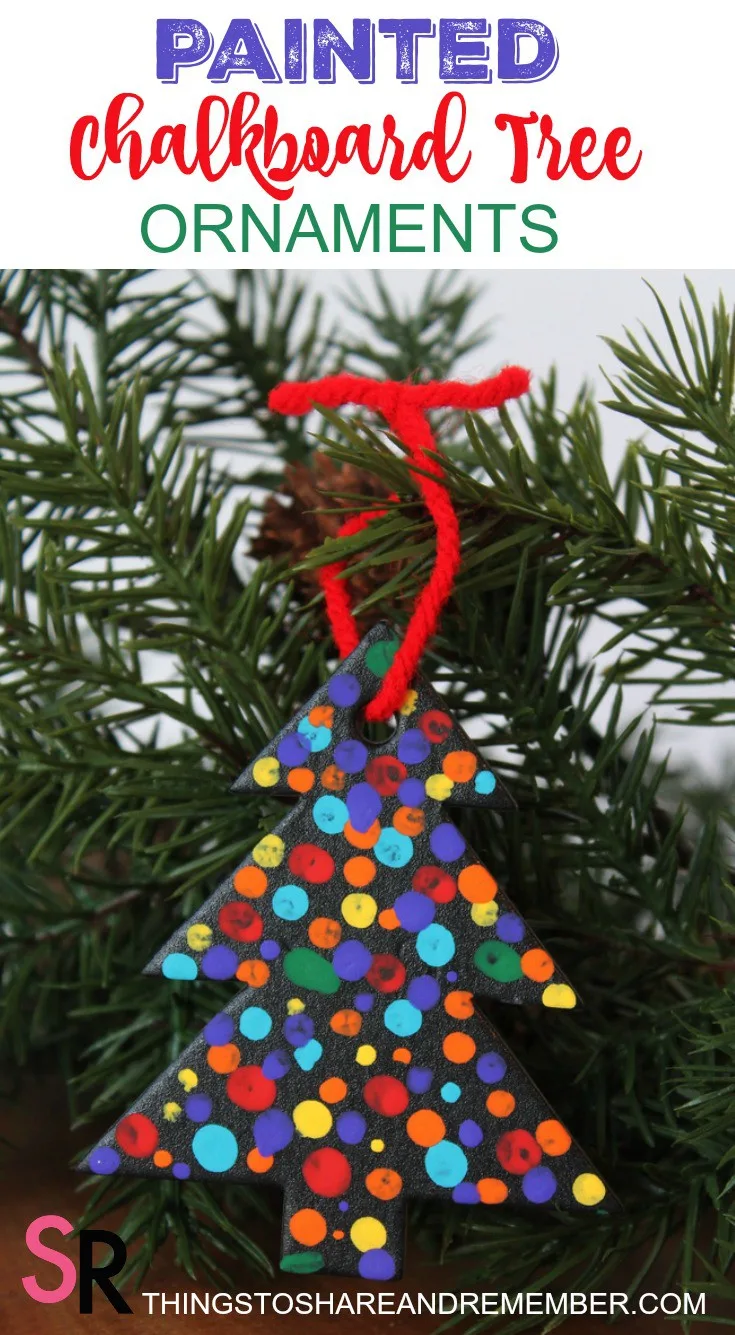
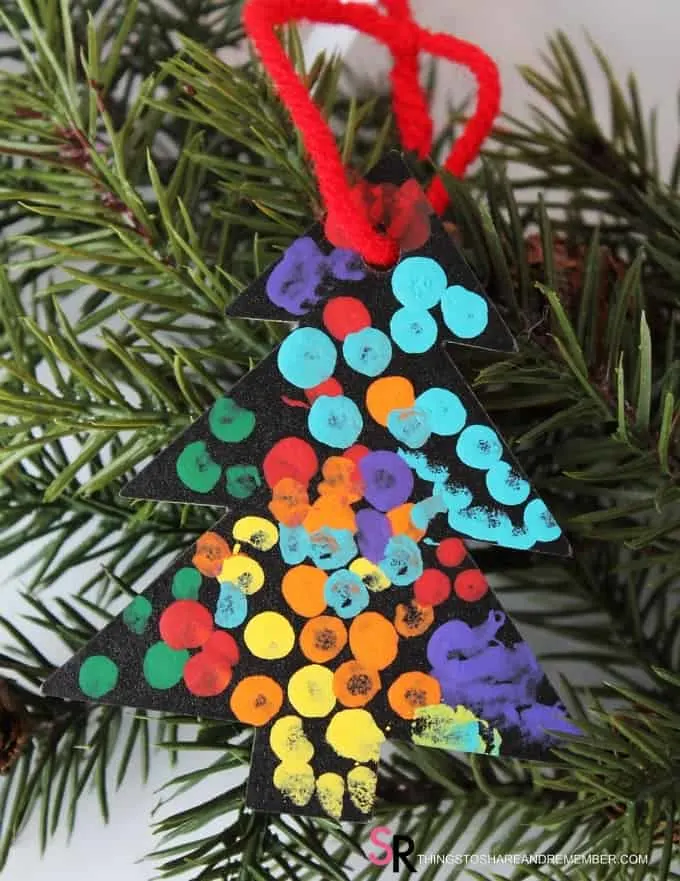
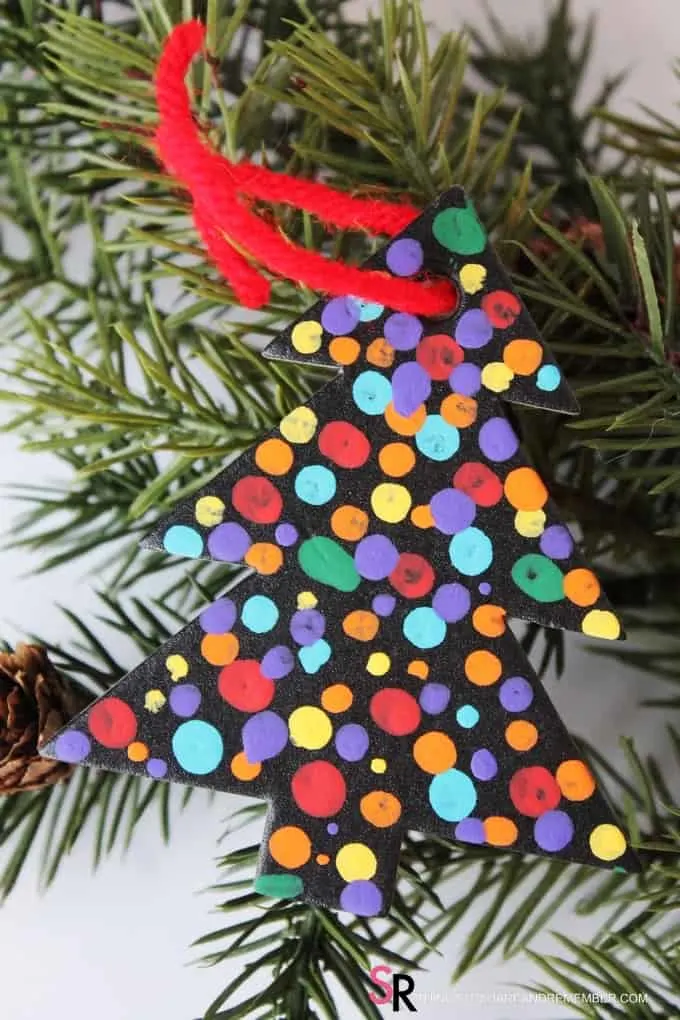
Yesterday we made the cutest little Painted Chalkboard Trees ornaments. I was in Michael’s and spotted these chalkboard tags. They have different shapes but I stopped and thought about the tree shaped ones. Hmm, what could we do with those? I figured something so I bought them. Pretty cheap – 12 / $4.99 and I probably got them on sale. Perfect for a child care craft project!

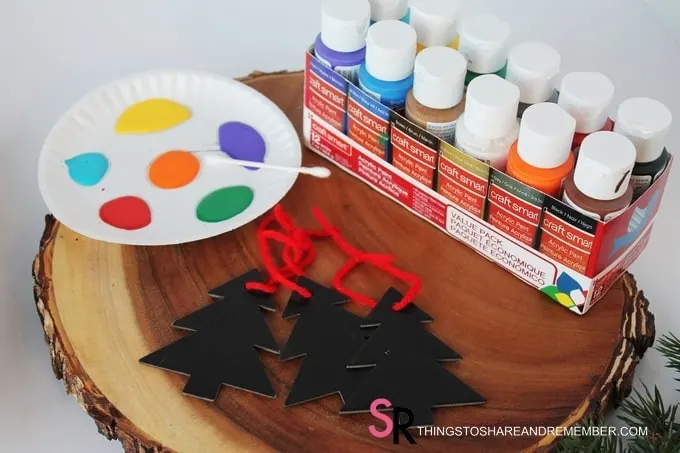
We’ve been using acrylic paints for some of our projects. Tempera paint just wasn’t going to work for this one. I love having an assortment of colors to work with. Not much paint is required for this project.
Painted Chalkboard Trees
Needed:
- Chalkboard tags (Michael’s)
- Acrylic paints
- Paper plate
- Q-Tips
- Yarn
Directions:
- Squirt a small amount of paint onto a paper plate.
- Using a Q-Tip, paint the tree shape as desired. Use a new Q-Tip for each color.
- Allow to dry.
- Paint the other side.
- Tie on yarn or ribbon.
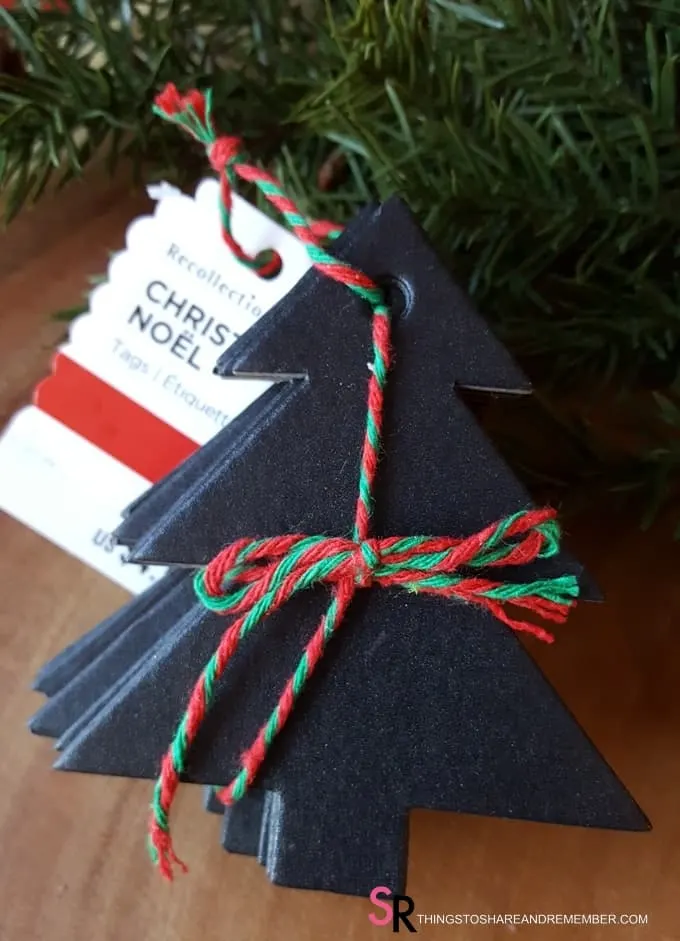
Buy the chalkboard tree shapes at Michael’s. They do not have strings on them so I tied yarn loops on them.
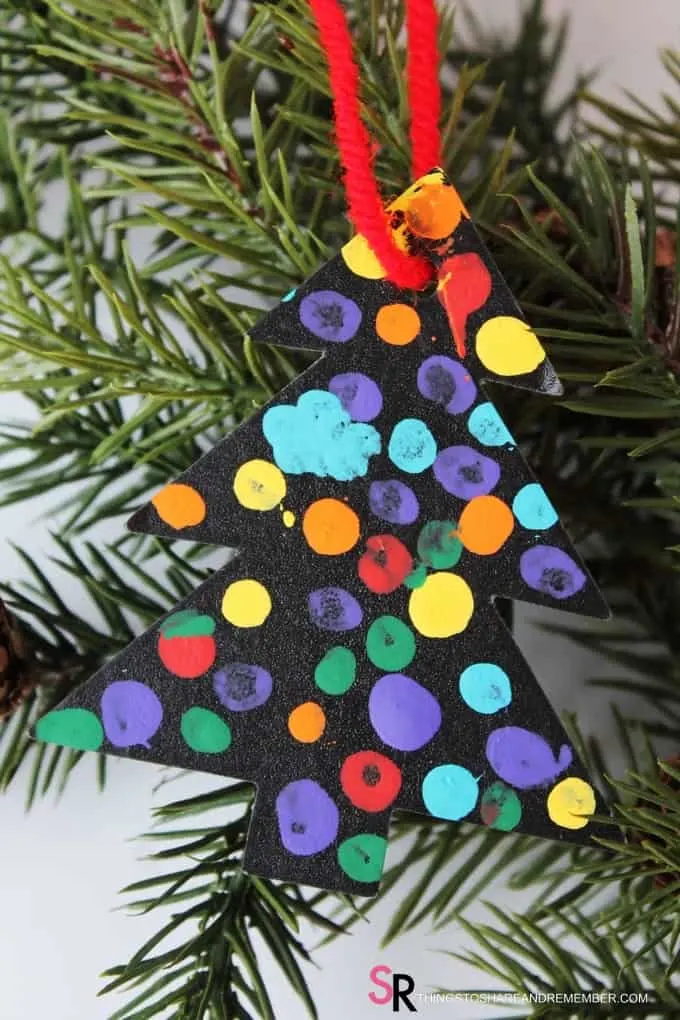
I wasn’t sure how my kids, ages 2-4, would paint these ornaments. I demonstrated how I would do it, painting little dots on the tree with various colors, so it would look like lights on the tree.
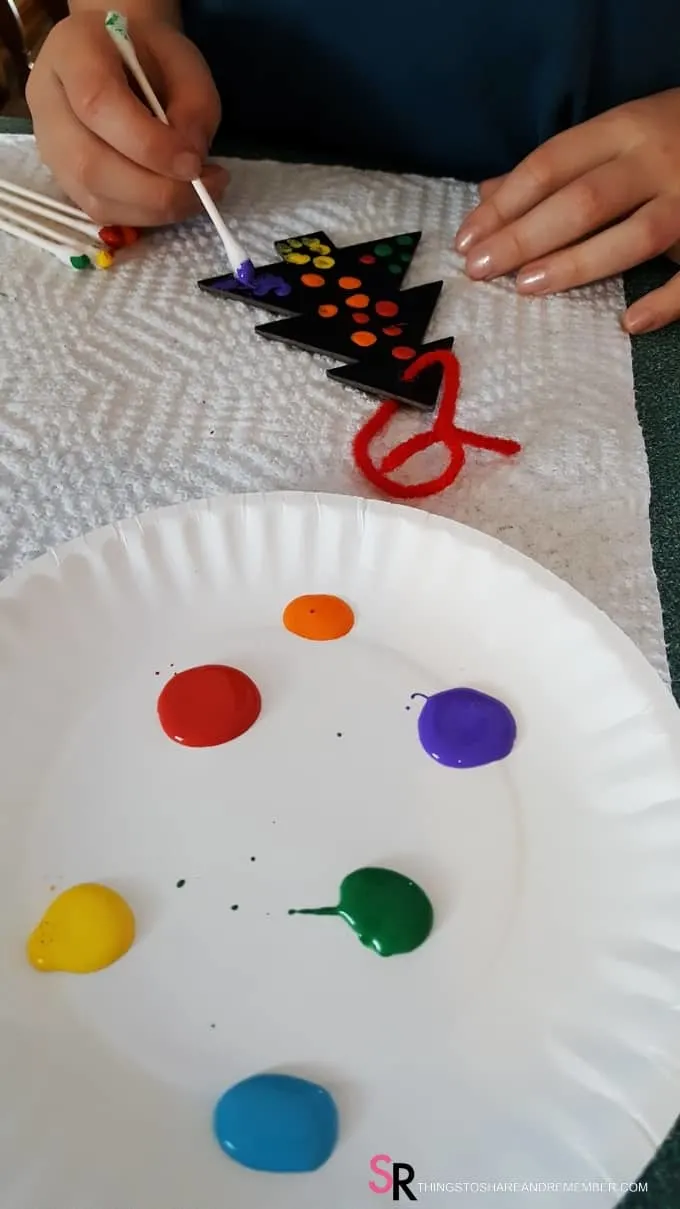
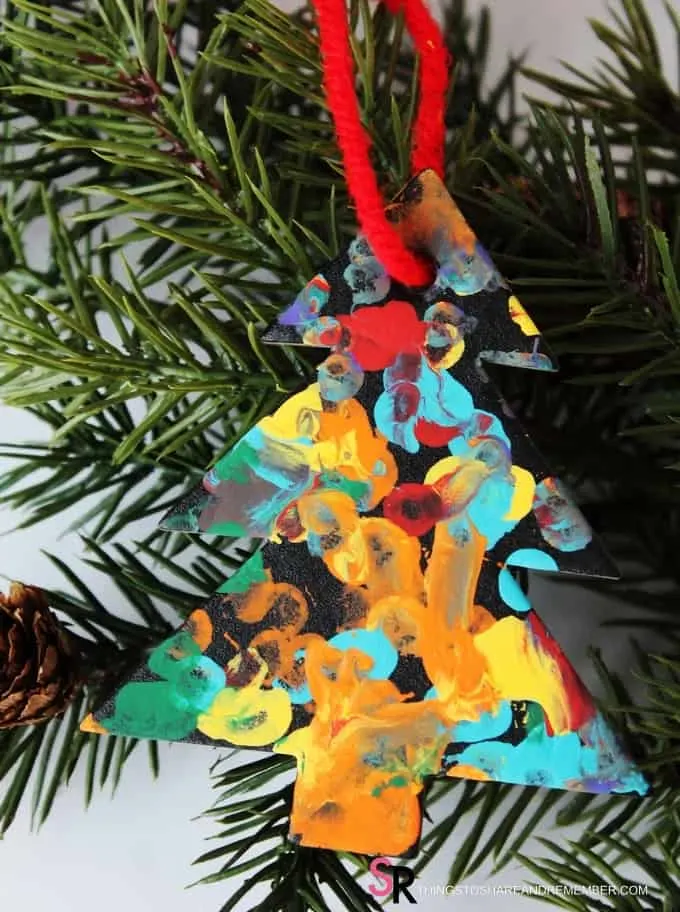
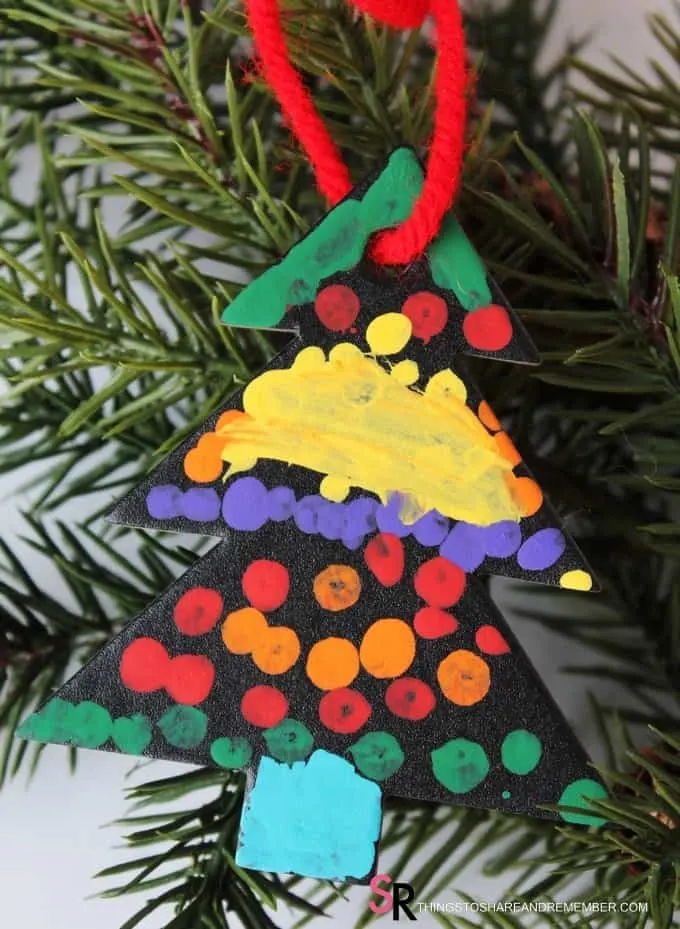
They went right to work and really spent time on painting their painted chalkboard trees! 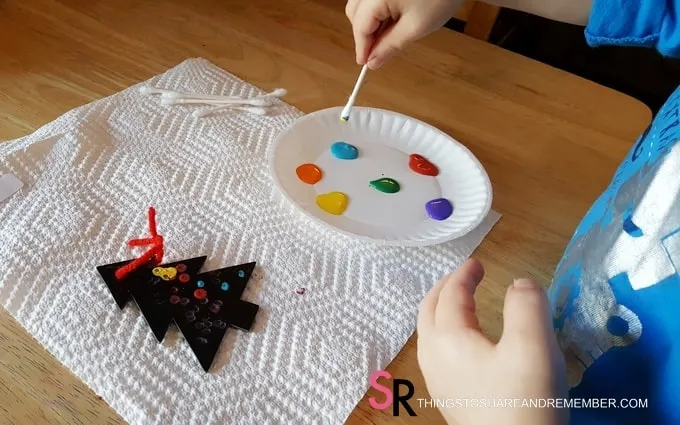
The painted dried within an hour or less. Then we turned them over and painted the other side. They turned out lovely!
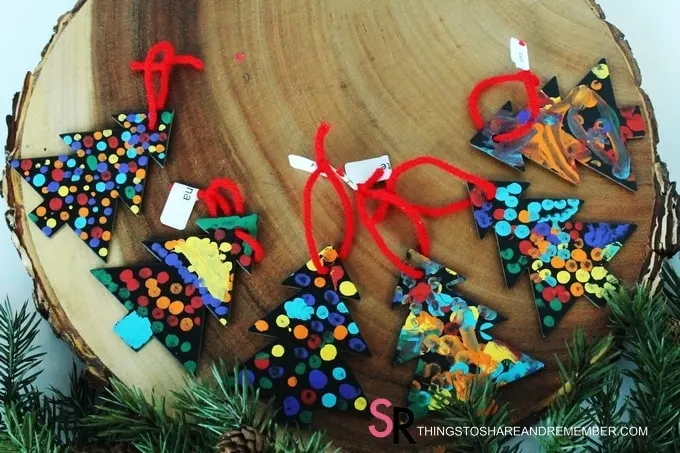
If you need to speed up drying time, use a heat gun carefully to dry with heat. Not too close or the paint with bubble.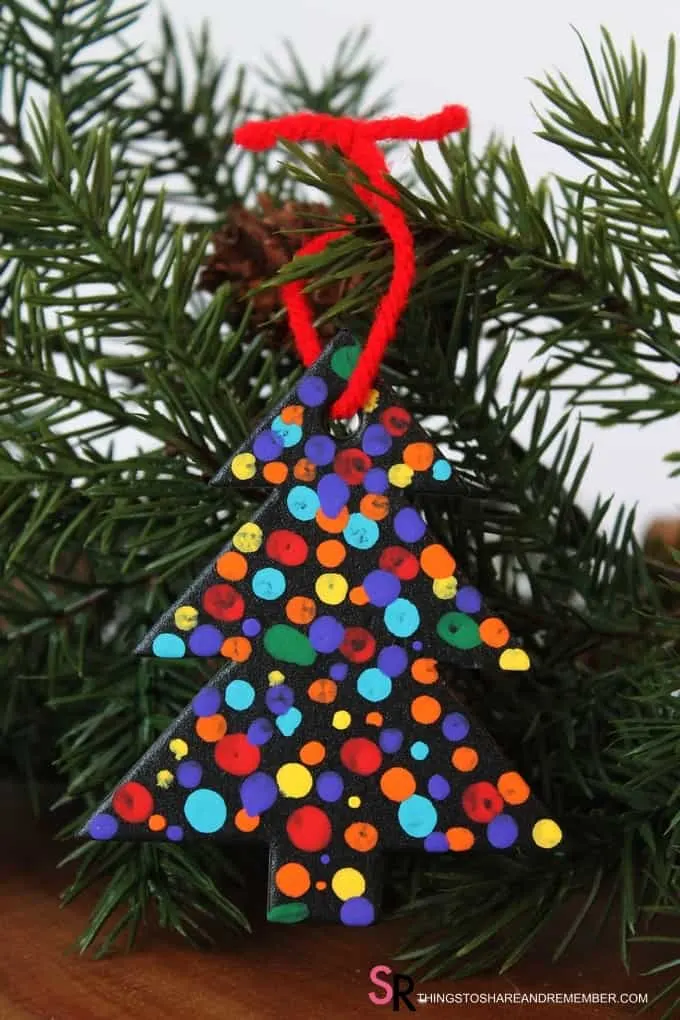
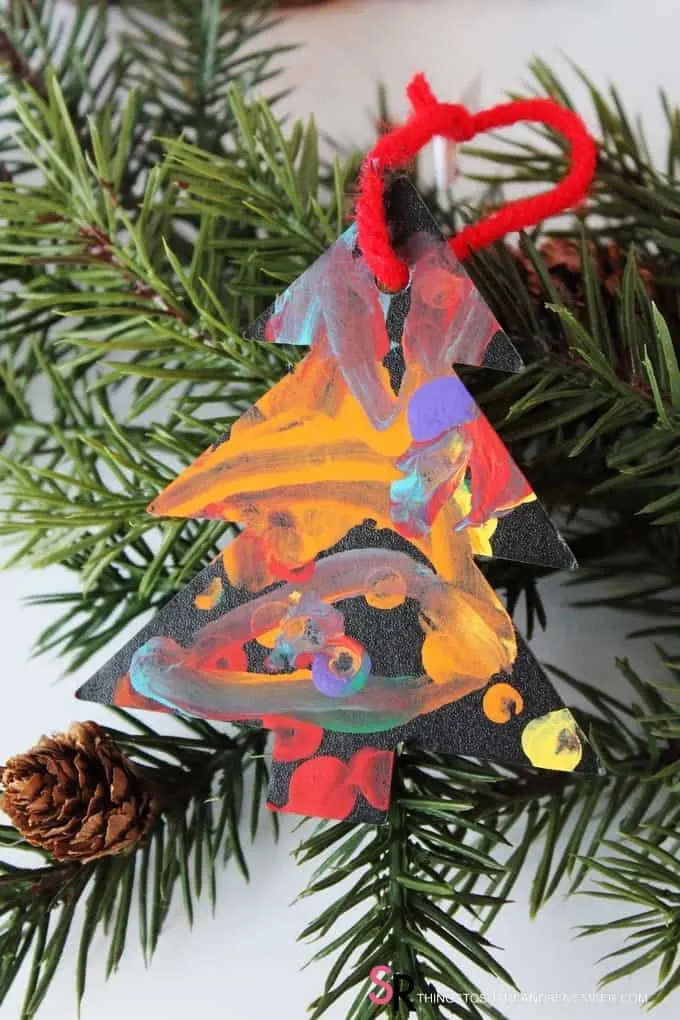
Merry Christmas!

Did you try this activity?
Tag @shareandremember on Instagram and be sure to subscribe to the mailing list to receive more resources for your home & child straight to your inbox!
