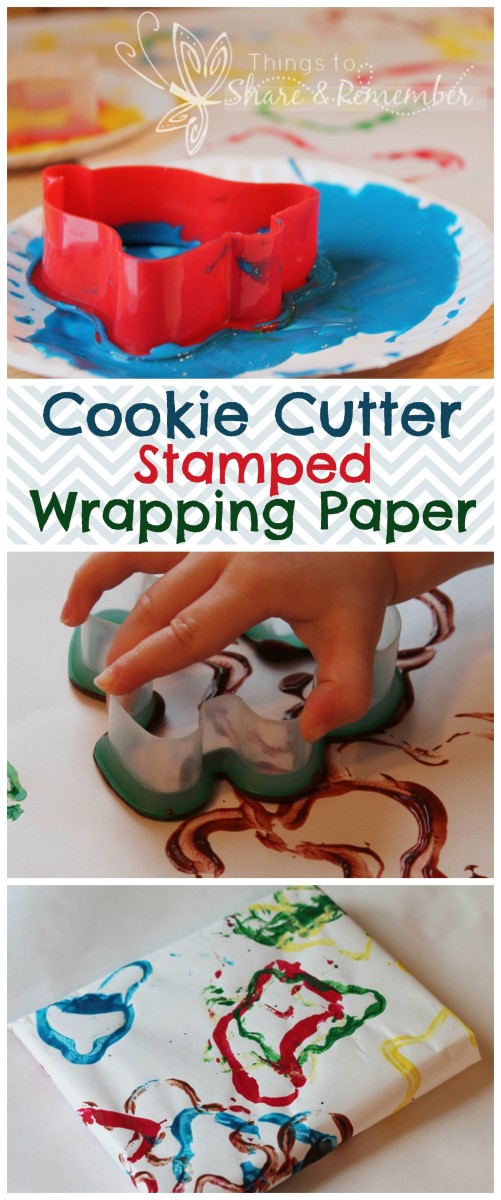
This year, for the first time, I decided to try making our wrapping paper. I combined it with a fun stamping activity using cookie cutters to make it even more special. The result? Easy for kids to make and beautiful, personalized Cookie Cutter Stamped Wrapping Paper you’ll love to wrap gifts in!
Pin it for later! Add this craft to your holiday activity list by pinning it to your Pinterest board or sharing it with friends. Happy crafting!


Why Use Cookie Cutters for Stamping?
These cookie cutters are perfect for stamping with paint because they’re plastic and have a thick, sturdy edge around the top, making them easy to handle for little hands. This craft combines creativity, motor skill development, and holiday fun all in one!
Cookie Cutter Stamped Wrapping Paper
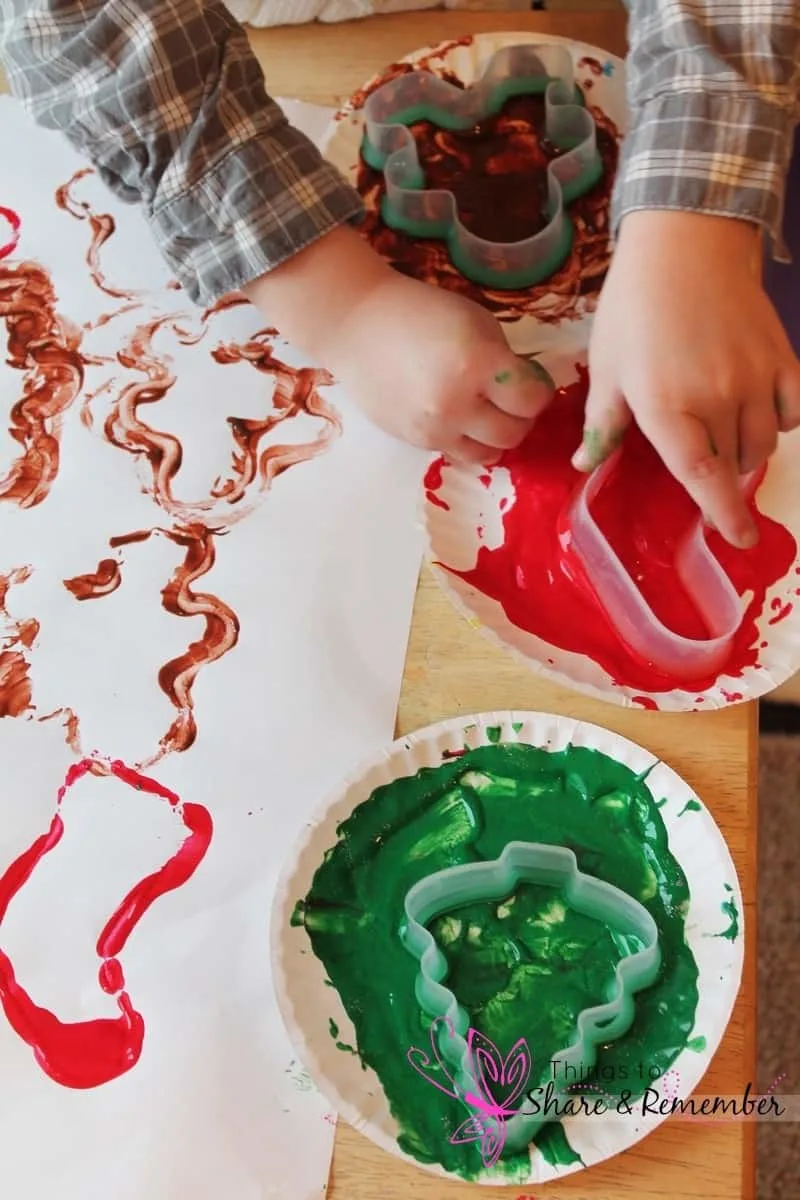
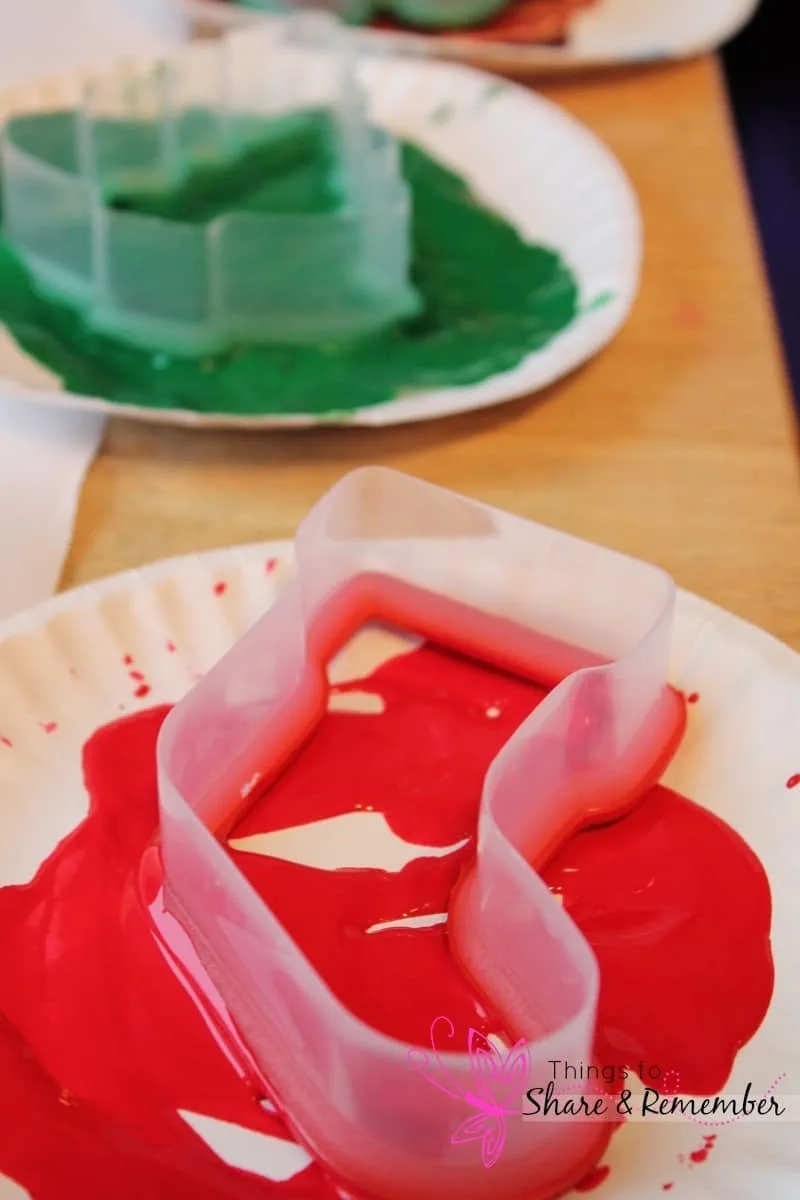
We turned them over and used that side to dip in the paint. I often use small paper plates for crafts – we go through many of them between snack time and crafts – but they’re perfect for a small amount of paint and cookie-cutter stamps.
Supplies You’ll Need
Here’s what you’ll need to get started:
- Cookie cutters (plastic ones work best for easier handling)
- Tempera paint (in festive colors like red, green, yellow, blue, and brown)
- Glitter paint (optional for added sparkle)
- Large roll of plain paper (butcher paper or kraft paper works well)
- Small paper plates (to hold the paint)
- A flat surface for crafting
No products found.

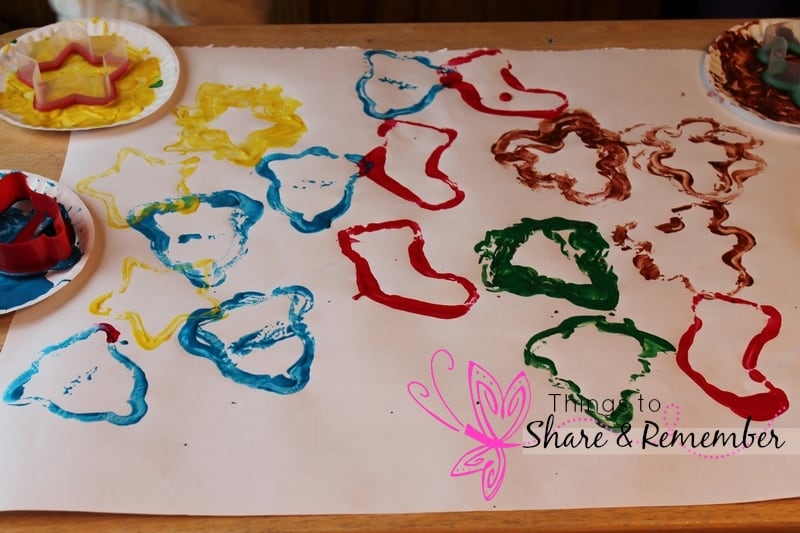
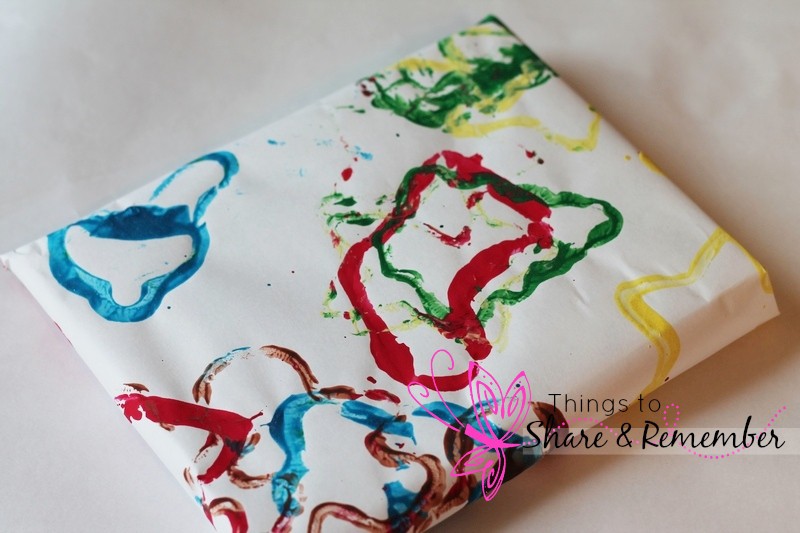
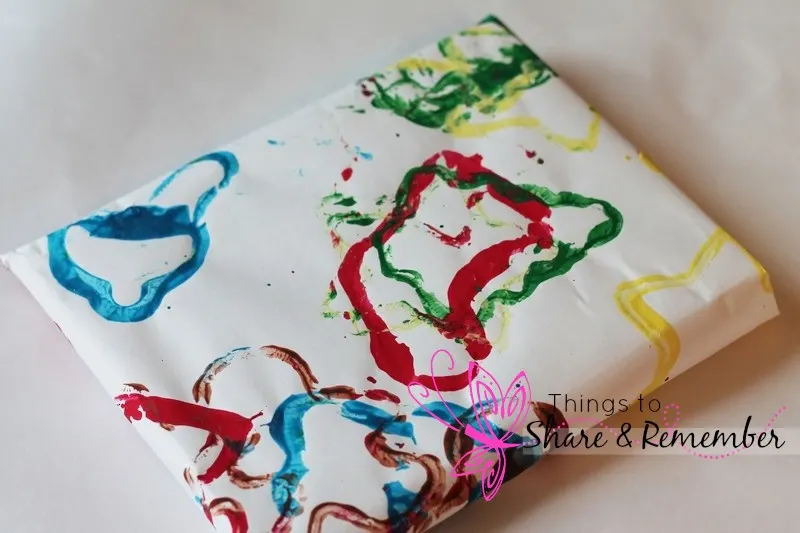
Stamping bells, stockings, Christmas trees, stars, and teddy bears on the wrapping paper.

Step-by-Step Instructions
1. Prepare Your Materials
- Lay out your large roll of paper on a flat surface. Cut off manageable pieces for each child or participant.
- Pour a small amount of each paint color onto separate paper plates. These serve as your “paint palettes.”
2. Choose Your Colors and Shapes
We used the following combinations:
- Blue: Bell
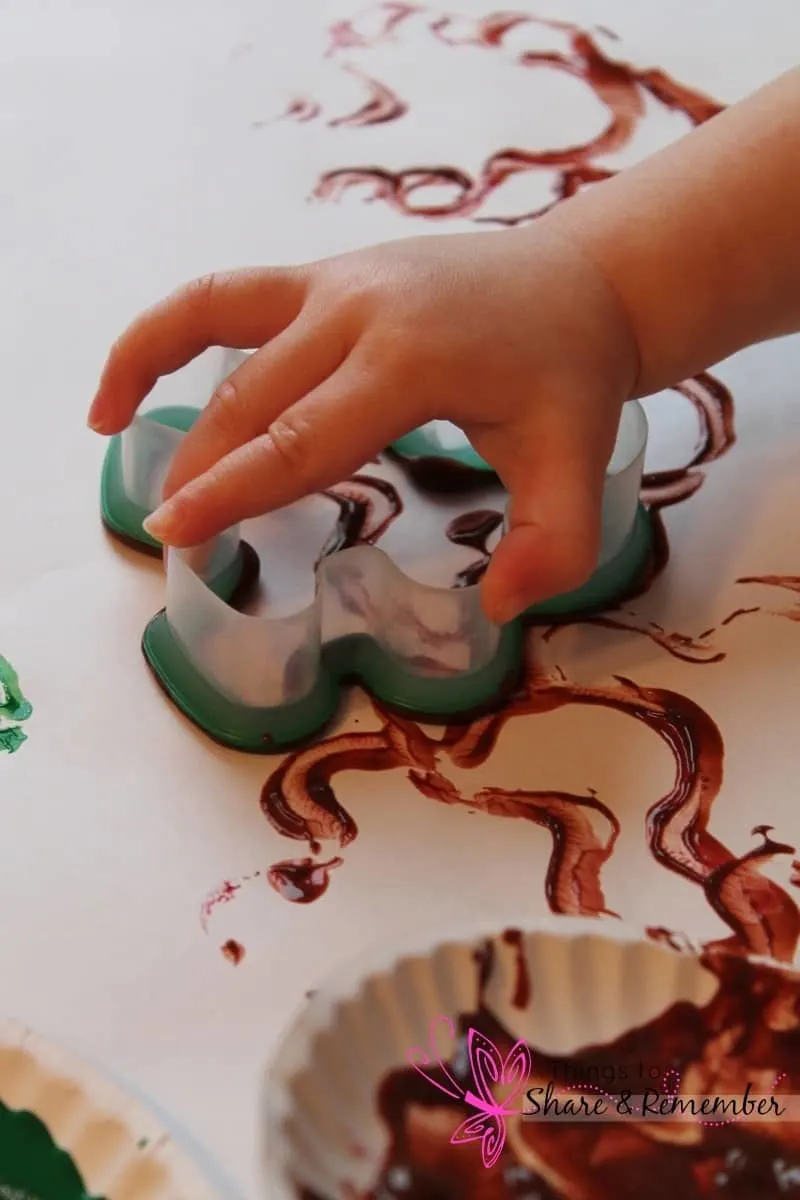
- Brown: Gingerbread man
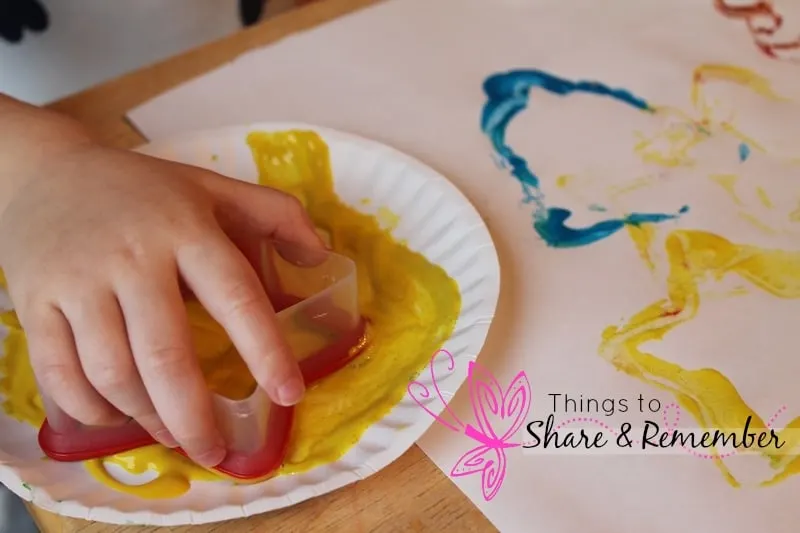
- Yellow: Star (with glitter paint for sparkle)
- Red: Stocking
- Green: Christmas tree (with glitter paint for sparkle)
We even included a plastic bell cookie cutter from another set to add variety.
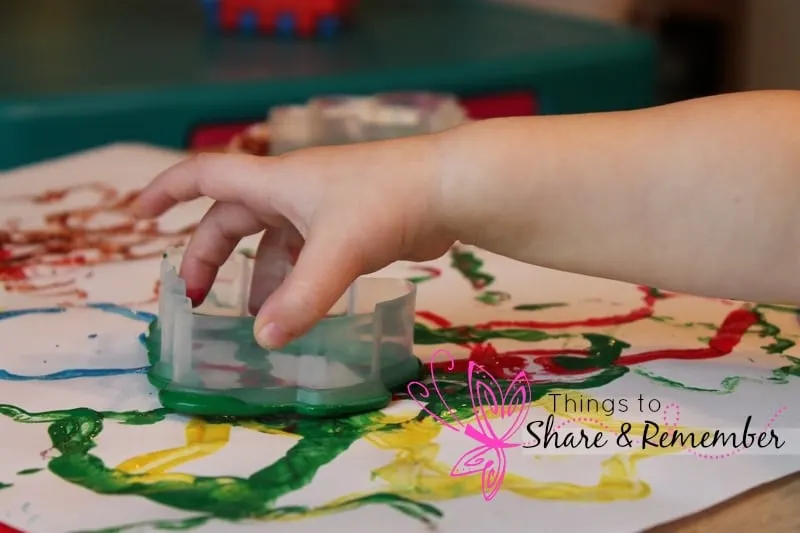
3. Start Stamping
- Dip the bottom edge of a cookie cutter into the paint. Make sure the edge is evenly coated but not overly saturated.
- Press the cookie cutter firmly onto the paper to create your stamp. Repeat with different shapes and colors.
- Encourage kids to take their time and space out their stamps for a clean design.
4. Add Personal Touches
To make the wrapping paper extra special, consider:
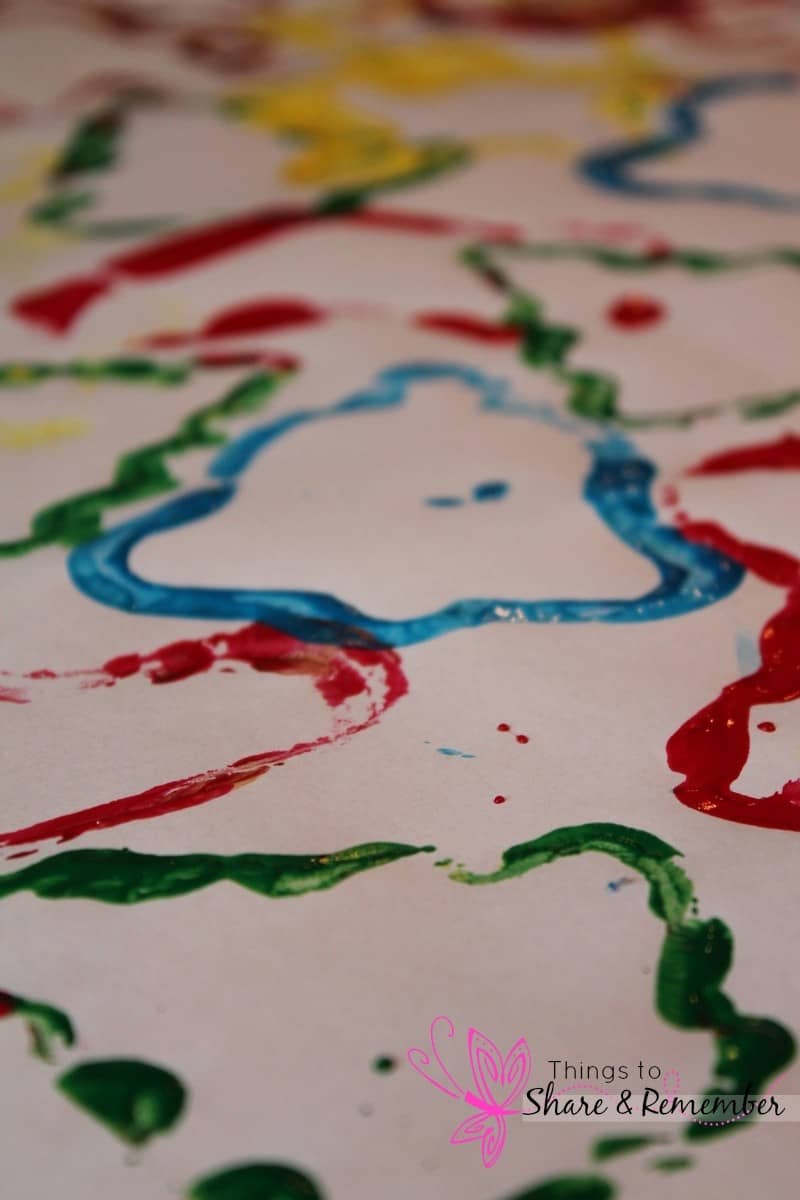
- Layering colors for a multi-dimensional effect.
- Using glitter paint for festive sparkle.
- Letting kids sign their wrapping paper with a paintbrush or marker.
5. Allow to Dry
Tempera paint dries quickly, which makes it a perfect choice for this activity. Once the paper is dry, it’s ready to use!

How We Used Our Wrapping Paper
We used the homemade wrapping paper to wrap parent gifts, including Christmas Button Frames and Sled Craft Ornaments. The colorful, festive designs added a personal touch to each gift. Plus, the children were so proud to see their creations used in such a meaningful way!
Tips for Success
- Clean Up Quickly: Keep a damp cloth handy for quick cleanup of spills.
- Use Sturdy Paper: Avoid thin paper that may tear with the paint.
- Encourage Creativity: Let children experiment with mixing colors or creating patterns.

Why This Activity is Perfect for the Holidays
This craft isn’t just about creating wrapping paper; it’s about the experience. Painting with cookie cutters is a quick, easy, and fun holiday activity that encourages creativity and gives kids a sense of accomplishment. Plus, it’s an excellent family project, so try it at home too!

Where to Find Cookie Cutters
The cookie cutters we used are available on Amazon and may also be on clearance at local stores. Investing in a good set means you can reuse them for baking or crafting year after year!

Painting with cookie cutters is a quick, easy holiday activity that everyone enjoyed.

The gifts looked wonderful wrapped!
Related Posts:

25 of the Easiest Christmas DIY Sensory Activity Ideas
Saturday 30th of November 2019
[…] 4. Make gift wrapping paper designs […]